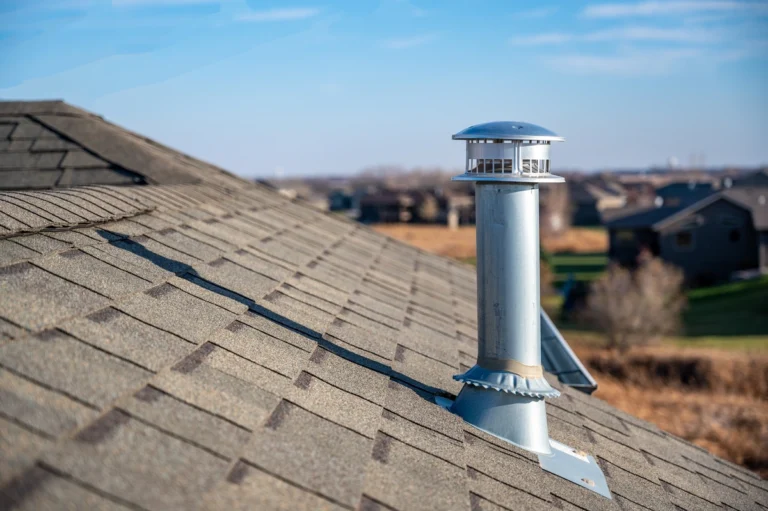
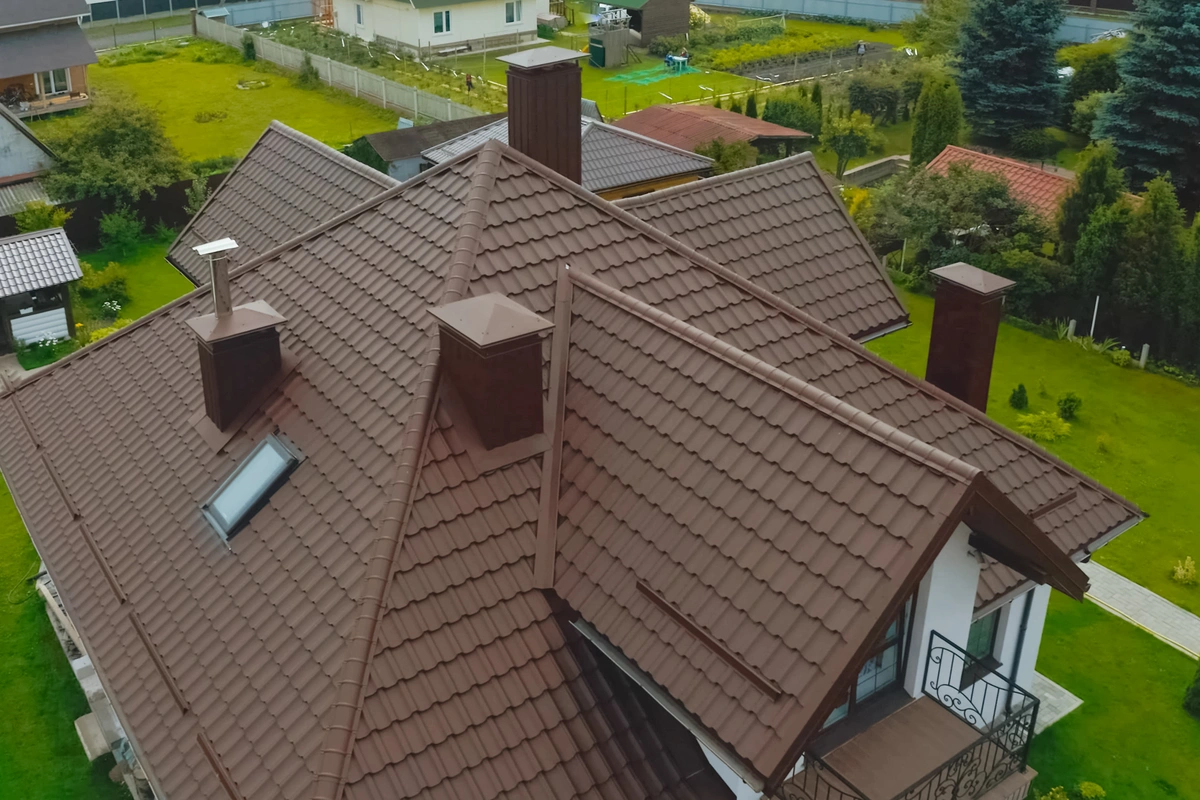
There’s nothing quite like having a metal roof over your head. They’re durable and long-lasting, stylish, and very energy efficient. Plus, they’ll boost your home’s overall value. However, they are on the more expensive side of roofing, which is why you may be thinking about going the DIY route.
Installing metal roofing on your own can save you thousands of dollars, but there’s a lot to consider as it’s a great undertaking. Below we’ll explain how to install metal roofing in seven steps, so you know what you’re in for.
Read on to learn more.
Getting Ready For Metal Roof Installation
The key to any successful home improvement job is having the right metal roofing materials, tools, and equipment handy. You’ll also need to set aside an appropriate amount of time to get the job done, as metal roofs can take several days to install.
The tools and materials you’ll need to install your new metal roof are:
- Proper work attire — long pants, a long shirt, knee pads, and work boots
- Safety gear — goggles, fall prevention equipment, roofing harness, work gloves
- Ladder
- Tape measure
- Circular saw
- Chalk line and reel
- Drill
- Screw gun
- Electric stapler
- Claw hammer
- Tin sips
- Utility knife
- Roof jacks
- Locking sheet metal tool
- Pry bar
- Metal panels
- Underlayment
- Closure strips
- Sealant tape
- Flashing
- Roofing screws
- Silicone sealant
- Wood screws
- A dumpster for waste
You’ll also need to think about the safety considerations as you’ll be working notably high above the ground. Aside from having the right safety gear, you’ll also need to look out for trees, electrical wires, and other risks while up there.
Lastly, you’ll need to consult with your city or municipality regarding building codes and permits. You cannot legally carry out renovations without the proper permits — and they take time and money to obtain.
How to Install Metal Roofing
Once you have everything you need — including the proper permits — you can get started on your roofing project. Keep in mind that the best time to install metal roofing is when the forecast calls for clear skies and mild weather, as any inclement weather will extend the installation time and can damage your materials.
These are the steps:
1. Measure Your Roof
You’ll need to properly measure your roof to determine how much roofing material you’ll need to purchase.
- Measure the length, width, and rise of each section
- The rise refers to the distance between the lowest and highest points of your roof, and you’ll need this number to calculate the slope of your roof — which is rise divided by run (with run being the distance across your roof)
- You’ll need to square the rise number and add it to the square of the run number. From there, take the square root of that number and divide it by the run to get your slope factor
- Multiply the slope factor by the area of measurement to get the square footage of your roof
- Repeat these calculations for each section of your roof
- Be sure to add an extra 10% of length for error
2. Remove Your Existing Roof
Next, you’ll need to remove your existing roofing materials. So, you’ll need to tear your asphalt shingles or other roofing materials off — down to the roof decking before you can install your new metal roofing. This is a good time to take a look at your existing roof decking, frame, insulation, and ventilation to ensure they’re all in good standing.
Before you can move forward, you’ll need to make any necessary repairs, which may include your roof decking (which is a whole other set of steps).
3. Place the Underlayment
Once you’re sure that your roof’s foundation is good to go, you can install the underlayment. The underlayment is the protective moisture barrier that guards your wooden sheathing in the event that water seeps through your roofing material.
- Start by rolling out the underlayment across your roof to get it into position
- Staple or nail it into place, starting with the edges
4. Install Drip Edges and Closure Strips
- Begin installing the drip edges along the eaves of your roof as well as the rake
- Use 1 ¼-inch galvanized roofing nailed to secure the drip edges into place, keeping them 16 inches apart
- Pay attention to your gutter system as the drip flashing must overhang the gutter lips by at least ½ an inch
- Use your sealant tape along the drip edge and place the closure strip on top — be sure not to stretch out the closure strip!
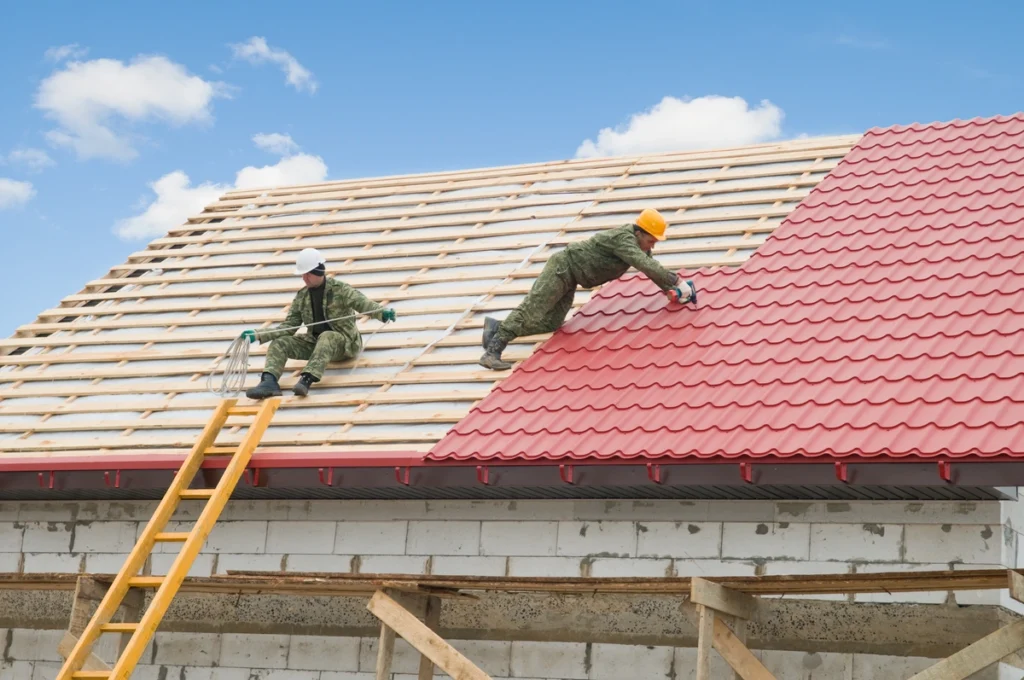
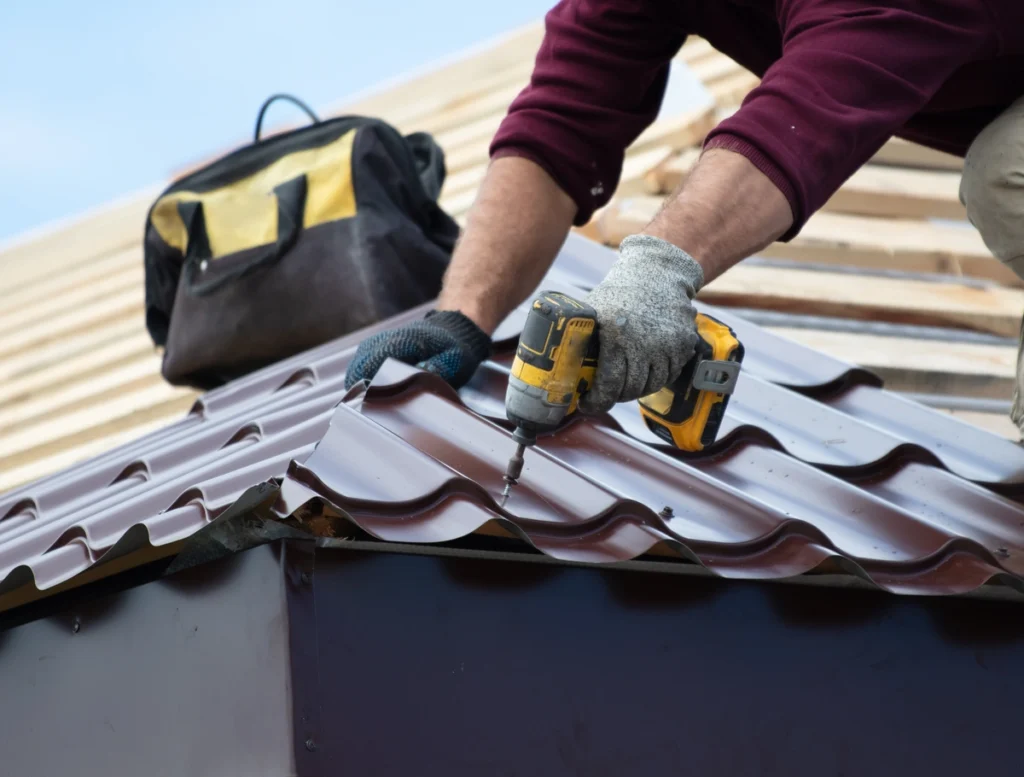
5. Install the Metal Roofing Panels
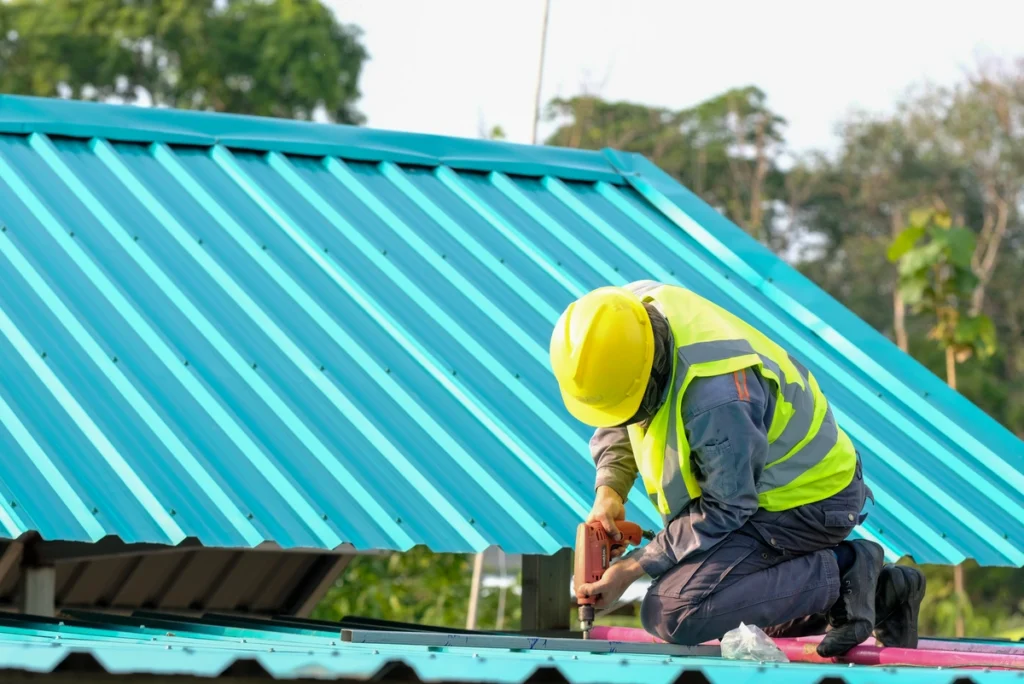
- Start by overlapping your roof’s edging by ½-¾ of an inch, making sure that it’s square to the roof line
- As you lay down your metal roofing, make sure that the smaller edge of the next metal panel overlaps the larger edge
- Follow the manufacturer’s guidelines for placing the screws
- Starting with the eaves of the roof, work your way up and secure the screws with each metal shingle or panel — but avoid overtightening!
- Apply silicone sealant to the underside of the short edge of each panel to create a watertight seal
- Repeat these steps, working your way up to the roofline, cutting the panels where needed to fit other roofing components using your circular saw or tin snips
6. Install the Ridge Cap
Once you’ve installed all the metal panels, the last step is to add your ridge caps. This may require either a centered closure strip or a solid strip, depending on where your roof is designed to vent and circulate air. (if it’s designed to vent at the ridge, you’ll want to use a vented closure strip).
- Place the ridge cap so it laps both sides of your roof evenly
- Carefully mark the panels where the ridge cap should rest by snapping your chalk line
- Place sealant tape along the chalk line, following the measurements laid out by the manufacturer (which is usually an inch)
- Make sure to apply this process to both sides of the ridge cap, and make sure the closure strip is flush and snug on each side
- Run another strip of the sealant tape along the top of the closure strip (on both sides)
- Install the ridge cap as instructed by the manufacturer — you’ll likely need to run screws at certain ribs of the cap and overlap the cap sections by roughly 6 inches
7. Have Your Roof Inspected
Once you’ve completed your metal roof installation, you’ll need to have a city inspector come out and give you the OK. If they find something that’s not up to local building codes, you may have to tear the whole roof off and start over.
Leave Your Metal Roof Installation to the Pros
In theory, learning how to install metal roofing is easy. In practice, installing a metal roof is incredibly difficult. If you’re thinking about upgrading to a metal roof, it’s in your best interest to get in touch with your local roofing professionals at Shingle and Metal Roofs to ensure a perfect installation job that’s backed up by warranties. Contact us today to schedule your roof inspection and learn about your metal roofing options!