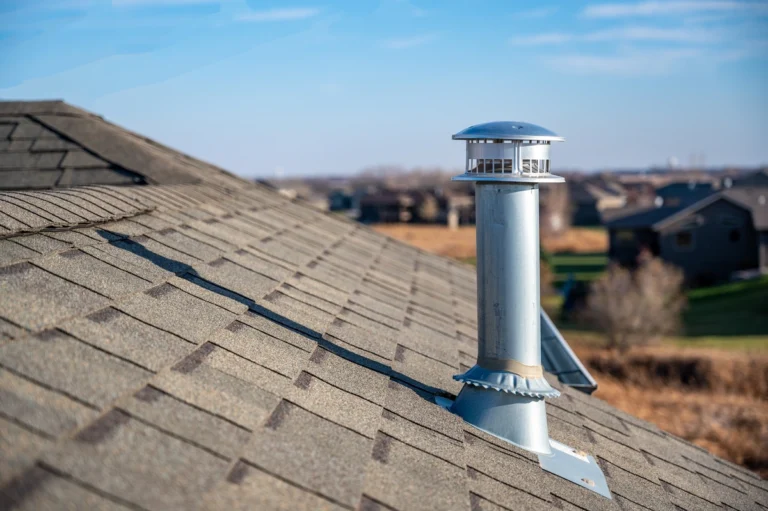

With home improvement projects, roof maintenance is an essential aspect that cannot be overlooked. One occasional task homeowners face is the removal of old shingles before repairing or replacing their roofs.
In this blog post, we will guide you through “How To Remove Shingles In 4 Easy Steps,” making this daunting task more manageable and efficient for DIY enthusiasts like yourself.
We’ll discuss the tools needed, provide step-by-step instructions, and offer helpful tips to ensure a safe and successful shingle removal process.
Steps for Efficiently Removing Shingles
To efficiently remove shingles, start by loosening the ridge caps and then prying up the lower edge of the shingle and sliding it down carefully, working in 2-3ft sections until you reach the bottom, and continue this process until all shingles have been removed.
- Loosen Ridge Caps
Loosening ridge caps is an essential first step in the shingle removal process, as it helps facilitate more efficient removal of the remaining shingles. Ridge caps are typically installed at the peak of your roof to protect against leaks and provide a finished appearance.
To begin loosening ridge caps, you will need a fork – a specialized roofing tool that can safely slide under the edge of these protective components without causing further damage.
Start by carefully prying up one end of the ridge cap using your fork until it has enough space to slide down towards your roof jacks. This method protects your roof structure from unnecessary harm and ensures you maintain proper safety protocols while working on this project.
Remember that patience plays a crucial role in this task; avoid using excessive force when loosening the ridge caps, as doing so could cause unintentional damage to other parts of your roofing system.
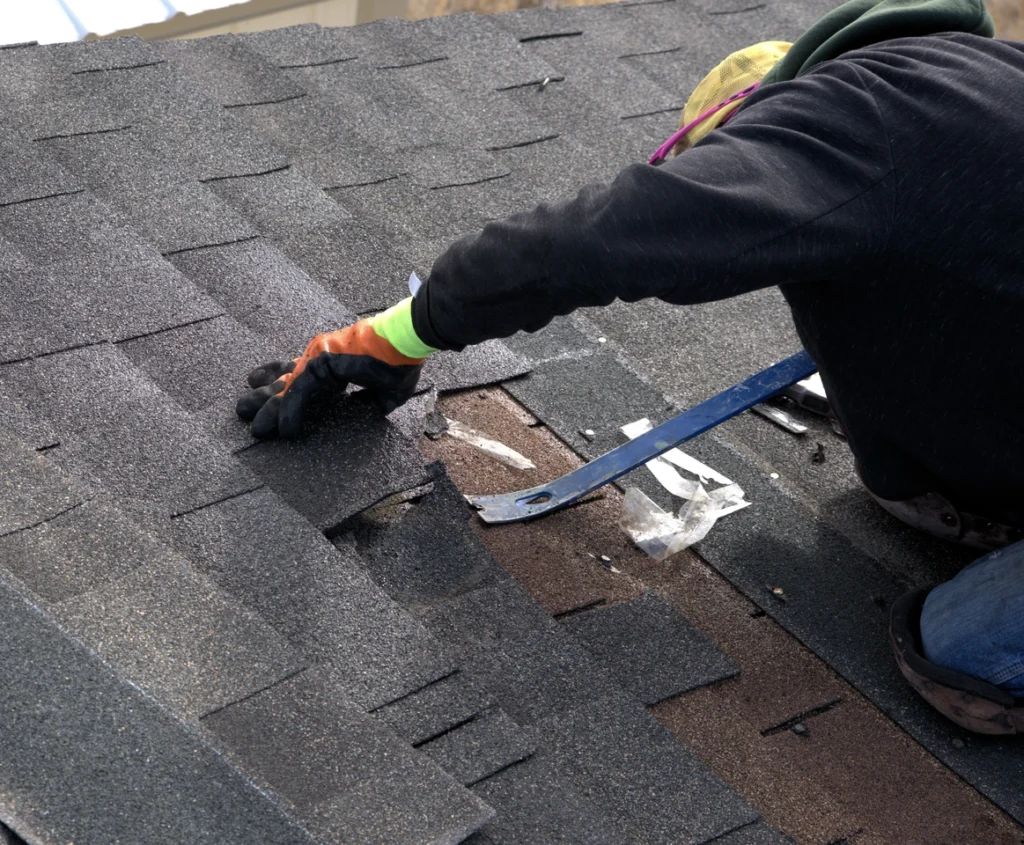
- Pry up Lower Shingle Edge

Prying up the lower shingle edge is crucial in efficiently removing old or damaged shingles from your roof. This can be achieved using specific roofing tools such as a shingle removal tool, a flat pry bar, or even a regular shovel if necessary.
It’s essential during this process to maintain proper balance and exercise caution on the rooftop due to its slippery nature. Be careful not to pull too hard on the nails holding these asphalt shingles in place, as doing so may cause damage to other roofing materials or create additional work when reinstalling new ones.
Additionally, while prying up lower edges, pay close attention to flashing removal since these items must be separated from neighboring sections without accidentally tearing them apart.
- Slide Shingles Down Roof
Removing shingles from your roof can seem daunting, but utilizing the right method and tools makes it more manageable. For efficient removal, one recommended approach is to slide shingles down the roof.
To start sliding shingles down the roof, follow these steps: First, loosen up ridge caps and pry up the lower edges of each shingle using a roofing shovel or pry bar.
As you lift them gently away from their position on top of the nails holding them in place, they will naturally tend to slide down due to gravity. Then work in sections approximately 2-3 feet wide as you continue your way down the rooftop.
This approach makes it easier for you to handle large numbers of shingles at once and enables quick disposal into waste containers positioned at ground level without excessive bending or strain on your body.
- Work In 2-3ft Sections and Continue Down Roof
To efficiently remove shingles, working in 2-3ft sections is crucial. This allows you to stay organized and maintain a consistent method for removing each section of the roof.
As you loosen the ridge caps, pry up the lower shingle edge, and slide them down the roof, work one small section at a time before moving on to the next.
This process helps keep all shingles in place until they are ready to be removed while also ensuring that loose debris doesn’t accumulate during the removal process. Remember to slide your fork along as you go so you can easily roll each piece into a ball for disposal or recycling.
Tips for Safe and Easy Shingle Removal
To ensure safe and easy shingle removal, it is important to wear proper protective gear, check the weather conditions, use appropriate tools such as a square-edged shovel or modified shovel, and start early in the day.
Wear Protective Gear
You’ll want to prioritize safety when removing shingles from your roof. Wearing the right protective gear is crucial to keep yourself out of harm’s way. Before setting foot on your roof, ensure you have gloves, slip-resistant shoes, and safety glasses.
In addition to these essential protective gear items, consider investing in a hard hat or helmet for better head protection against falling objects. Keeping yourself safe while removing shingles involves more than just wearing equipment; it also means understanding how to use them properly.
Take care to follow instructions for using each piece of equipment so that even in adverse weather conditions or unexpected circumstances, you can work safely without worry.
Check Weather Conditions
Before removing shingles from your roof, check the weather conditions. Rain or strong winds can make the process much more challenging and dangerous. Ideally, you would want a sunny day with little to no wind.
In addition to checking for rain or wind, note extreme temperatures. Shingle removal can be physically demanding work that requires significant exertion, and exposure to direct sunlight may lead to dehydration and exhaustion in hotter climates.
Use Proper Tools
Proper tools are essential for safe and efficient shingle removal. Roofing tools such as a roofing shovel, hammer, and nail puller can help. You’ll want to use specialized tear-off tools for removing shingles quickly and effectively.
Roofing safety is also a crucial factor to consider when using these tools. A sturdy ladder, slip-resistant shoes, and protective gear like gloves and goggles should be worn at all times during removal.
Properly maintaining your equipment is also critical for working safely on a roof.
Begin Early in the Day
Starting early in the day is a crucial tip for safe and easy shingle removal. This allows enough time to complete the project before dark or inclement weather sets in, ensuring a safer environment.
Additionally, starting earlier helps to avoid working during the hottest part of the day when temperatures can be unbearable on a rooftop. It’s important to note that removing shingles can be a noisy process, especially if using power tools like nail pullers or saws.
Conclusion
In conclusion, removing shingles from your roof may seem daunting, but with the right tools and techniques, it can be done efficiently and safely. By following these easy steps, you can successfully remove old shingles to make way for new ones without causing any damage to your roof or yourself.
Remember to prioritize safety by wearing protective gear such as gloves and eye protection, beginning early in the day when there is ample daylight, and checking weather conditions before starting.
Are you looking for a professional with experience and know-how to help with your roofing? Look no further than Shingle and Metal Roofs!