Pop quiz! Do you know the different elements of your roof? Shingles, sure. Gutters, of course. But what about your roof flashing? We’re willing to bet you’re a bit unsure.
Roof flashing is often overlooked but crucial. It is a key component that prevents water from seeping into vulnerable areas of your roof.
As a homeowner, understanding your roof is hugely important. That’s why we’re here to help by answering:
- What roof flashing is
- when to replace flashing on roof
- The steps involved in proper replacement
With just a few minutes of your time, you’ll learn how to fix roof flashing and protect your home from water damage!
Understanding Roof Flashing
Roof flashing is a thin, weather-resistant material typically made of aluminum, copper, or galvanized steel. Its primary function is to provide a waterproof barrier in areas where your roofing materials meet other surfaces or structures, preventing water from infiltrating your home. Here are the common types of roof flashing:
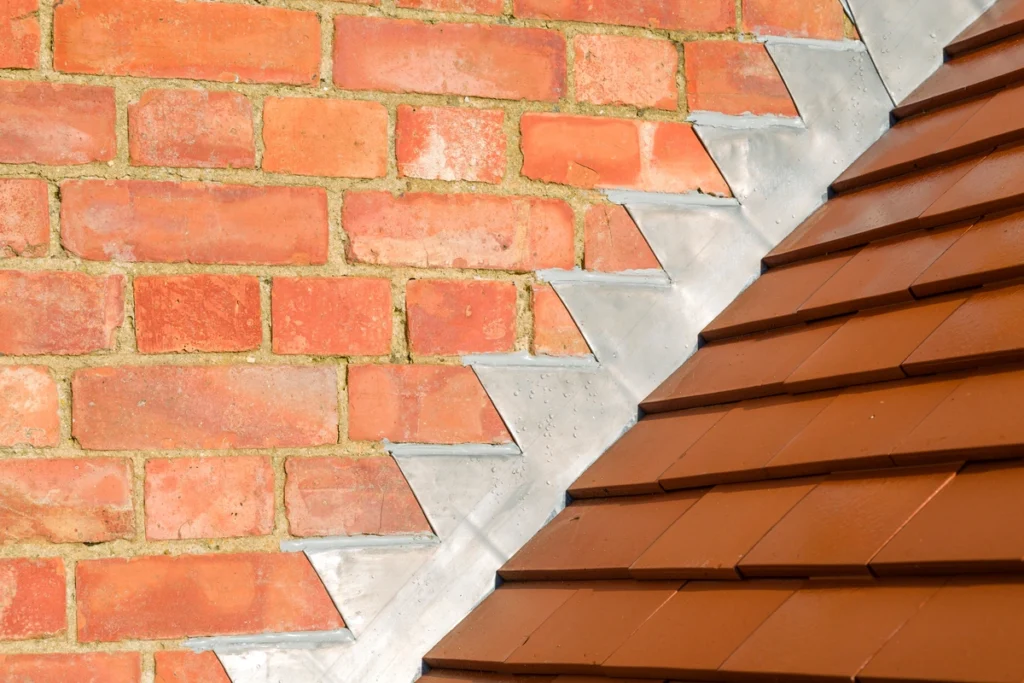
- Step Flashing: Used along the edges of sloped roofs and around chimneys, step flashing consists of L-shaped pieces that interlock with shingles to create a watertight seal.
- Valley Flashing: Placed in roof valleys where two slopes meet, valley flashing guides water down the valley, preventing it from pooling and causing leaks.
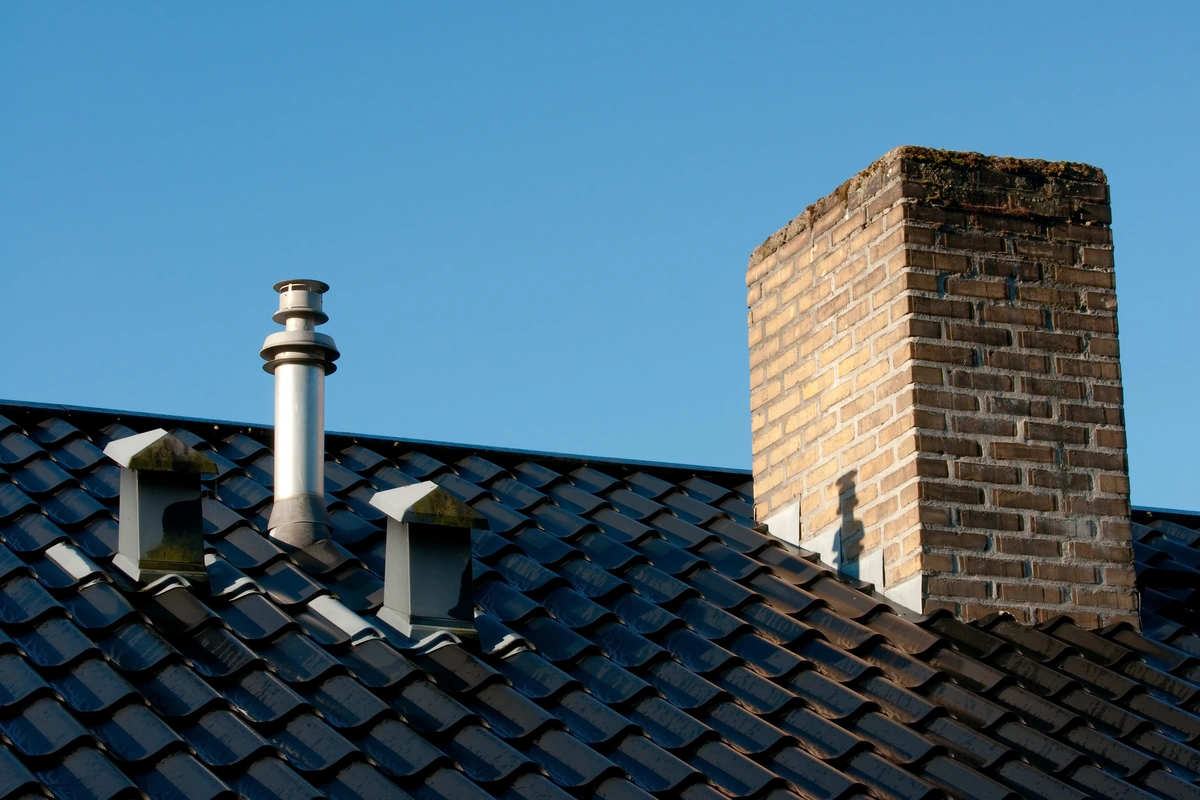
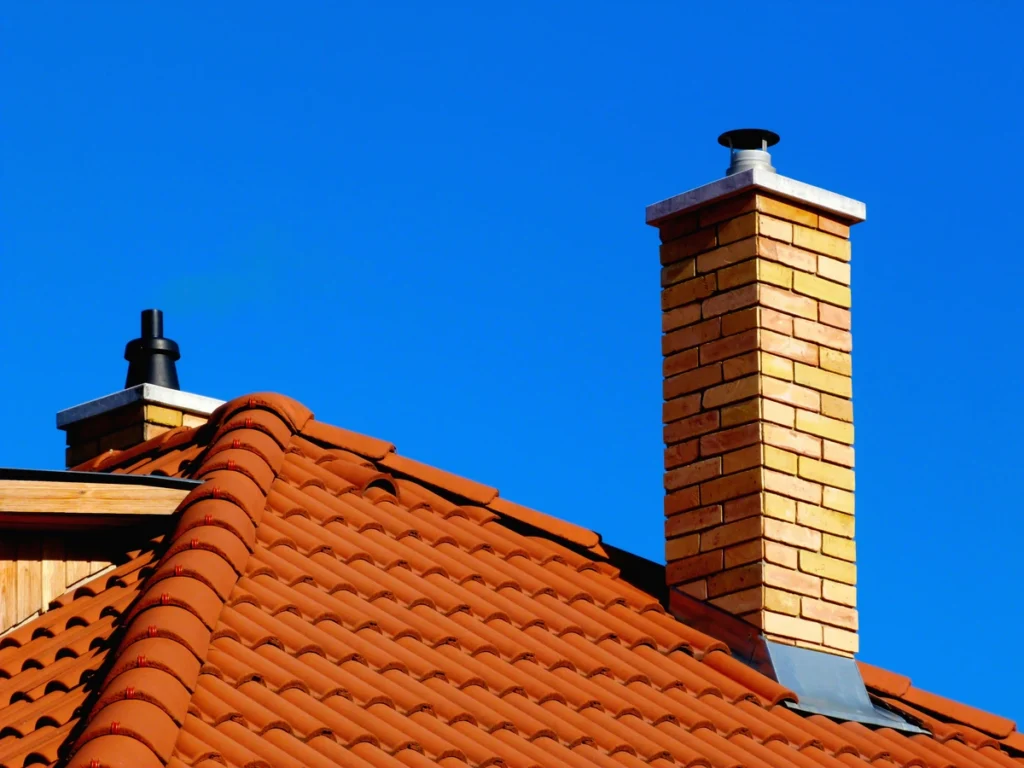
- Chimney Flashing: Surrounds the base of a chimney to seal the junction between the roof and the chimney structure.
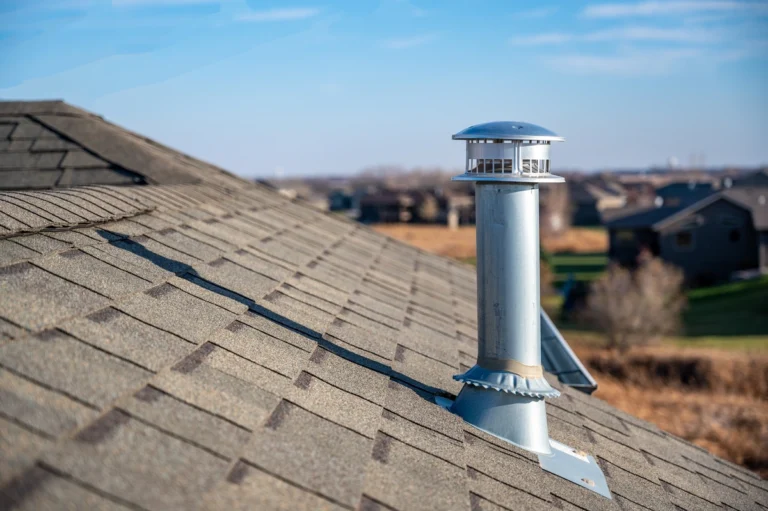
- Vent Pipe Flashing: Protects openings around vent pipes and ensures a water-tight seal where they penetrate the roof.
- Drip Edge Flashing: Installed along the roof’s edges to direct water away from the fascia and eaves, preventing rot and water damage.
- Counter Flashing: Typically used with masonry walls, counter flashing covers the top edge of step flashing to create a seamless seal.
The Importance of Roof Flashing
Roof flashing might not seem like much, but its role is anything but insignificant. Here’s why it’s crucial:
- Prevents Water Intrusion: The primary purpose of flashing is to keep water from infiltrating vulnerable points in your roof, which can lead to costly water damage and mold growth.
- Protects Structural Integrity: By channeling water away from areas like chimneys, walls, and vents, flashing helps preserve the structural integrity of your home.
- Increases Roof Lifespan: Properly maintained flashing extends the lifespan of your roof by minimizing water damage and premature deterioration.
5 Signs That It’s Time to Replace Roof Flashing
Roof flashing is designed to withstand the elements, but it’s not invincible. Here are some signs that it may be time to replace your roof flashing:
1) Visible Damage
Inspect your flashing for signs of corrosion, rust, cracks, or missing pieces. Any visible damage should prompt immediate attention.
2) Leaks or Water Stains
Water stains on your ceilings or walls are telltale signs of flashing failure. These should be addressed promptly to prevent further damage.
3) Loose or Lifted Shingles
If your flashing is deteriorating, it can cause shingles to become loose or lift, increasing the risk of leaks.
4) Aging Roof
If your roof is nearing the end of its lifespan, it’s a good idea to replace the flashing as well, as it may not provide adequate protection in its current state.
5) Remodeling or Repairs
Any roof repairs or remodeling projects should include an inspection of flashing. It’s often easier and more cost-effective to replace flashing during these projects.
DIY vs. Professional Roof Flashing Replacement

When it comes to replacing roof flashing, you have two options: doing it yourself or hiring a professional. Let’s examine the advantages and disadvantages of each approach:
DIY Roof Flashing Replacement:
✅ Pros:
- Cost Savings: DIY can be more budget-friendly since you won’t incur labor costs.
- Hands-On Experience: You gain valuable experience and skills by tackling the project yourself.
- Timely Response: You can address minor flashing issues promptly without waiting for a professional.
❌ Cons:
- Risk of Errors: Inexperienced DIYers may make mistakes that lead to water leaks and further damage.
- Safety Concerns: Working on a roof can be hazardous, especially without proper safety equipment and training.
- Limited Warranty: DIY flashing replacement may not come with warranties or guarantees, unlike professional services.
Hiring a Professional:
✅ Pros:
- Expertise: Roofing professionals have the experience and knowledge to ensure proper installation and waterproofing.
- Safety: Professionals have the necessary safety equipment and training to work on roofs safely.
- Warranty: Reputable roofing companies often provide warranties on their work, giving you peace of mind.
❌ Cons:
- Higher Cost: Hiring professionals can be more expensive due to labor costs.
- Scheduling: You may need to wait for an available appointment, especially during peak roofing seasons.
- Quality Varies: The quality of work can vary among roofing contractors, so it’s essential to choose a reputable one.
9 Steps to Properly Replace Roof Flashing
If you decide to replace the roof flashing yourself, here are the steps to follow:
1) Gather Materials and Tools
You’ll need new flashing, roofing cement, roofing nails, a pry bar, a utility knife, and safety gear.
2) Safety First
Wear appropriate safety gear, including gloves, eye protection, and non-slip footwear. Consider using a safety harness or securing yourself to the roof for added protection.
3) Remove Old Flashing
Carefully lift and remove the shingles above the damaged flashing. Use a pry bar and utility knife to detach the old flashing.
4) Inspect Roof Deck
Examine the roof deck for any damage or rot. Replace damaged decking as needed.
5) Install New Flashing
Cut and shape the new flashing to fit the area precisely. Secure it in place using roofing nails and roofing cement. Make sure it overlaps correctly with the adjacent roofing materials.
6) Reattach Shingles
Carefully reattach the shingles you removed earlier, securing them over the new flashing. Use roofing nails and apply roofing cement to ensure a watertight seal.
7) Seal Joints
Apply roofing cement to all joints and seams to create a strong, waterproof seal.
8) Inspect and Test
Once the flashing is in place, thoroughly inspect the area for any gaps or imperfections. Test for leaks by using a hose to simulate rainfall.
9) Clean Up
Clean up the work area and dispose of old materials properly.
Get Help From a Roofing Contractor
Understanding the intricacies of roof flashing can be challenging. That’s why we always recommend working with a local contractor who can help you stay on the right track. At Shingle and Metal Roofs, we have the experience to help you with any and all aspects of your roofing system. Contact us today to get an estimate for your roofing project!