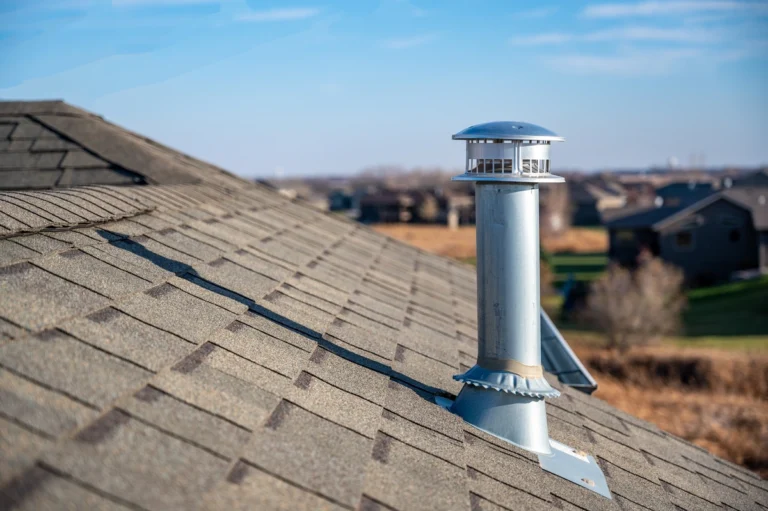
When it comes to roofing, shingles have long been a popular choice among homeowners and professionals alike. There are a variety of reasons for this enduring popularity, including:
- Affordability
- Durability
- Aesthetic appeal
- Ease of installation
However, if you’ve never worked with them before, finding the minimum pitch for shingles can be daunting. This guide will cover everything you need to know about determining the minimum pitch for shingle roofs, ensuring your roofing project is successful and compliant with standards.
Why is There a Minimum Pitch for Shingles?
The pitch, or slope, of a roof is a critical factor in its overall performance and longevity. The minimum pitch for shingles is essential to ensure the roof functions correctly and provides adequate protection against elements. Here are three reasons why a minimum pitch is necessary:
1. Prevents Water Leakage
One of the primary reasons for a minimum pitch is to facilitate proper water drainage. A roof with insufficient pitch may allow water to pool, increasing the risk of leakage. Water that isn’t adequately channeled away can seep through shingles, underlayment, and decking, causing damage to the entire roof structure and the interior of the home.

2. Reduces Ice Dam Formation
In colder climates, low-slope roofs are more susceptible to ice dams. Ice dams form when snow melts on the roof and refreezes at the eaves, creating a barrier that prevents water from draining properly. This trapped water can back up under shingles, leading to leaks and significant water damage. A minimum pitch helps mitigate this risk by promoting better drainage and reducing the likelihood of ice dam formation.
3. Enhances Overall Roof Performance
A roof with an adequate pitch is more effective at shedding rainwater and snow, which helps to maintain the integrity of the roofing materials. Shingles are designed to work optimally on roofs with specific slopes, ensuring they provide maximum protection and longevity. Failure to meet the minimum pitch requirements can compromise the entire roof system, leading to premature wear and potential failure.
How to Determine Minimum Pitch
Determining the minimum pitch for shingles involves understanding the specifications of the shingles you are using and adhering to local building codes. Here’s a detailed guide on how to find the minimum pitch for your roof:
Tools You’ll Need:
- Measuring tape
- Level
- Speed square or protractor
- Roofing calculator or pitch gauge
- Chalk line
- Ladder
- Roofing nails
- Underlayment
- Asphalt shingles (or chosen roofing material)
- Safety gear (helmet, gloves, harness)
Step-by-Step Instructions:
1. Understand Manufacturer Guidelines
Start by consulting the manufacturer’s specifications for the shingles you intend to use. Most manufacturers provide clear guidelines on the minimum pitch required for their products. For example, standard asphalt shingles typically require a minimum slope of 2:12 (2 inches of rise for every 12 inches of run). However, some products may have different requirements, so it’s crucial to verify the specifics.
2. Check Local Building Codes
Local building codes often have regulations regarding minimum pitch for roofs. These codes are designed to ensure safety and performance standards are met. Check with your local building authority to confirm the minimum pitch requirements for your area. Some regions may have stricter regulations due to weather conditions or other factors.
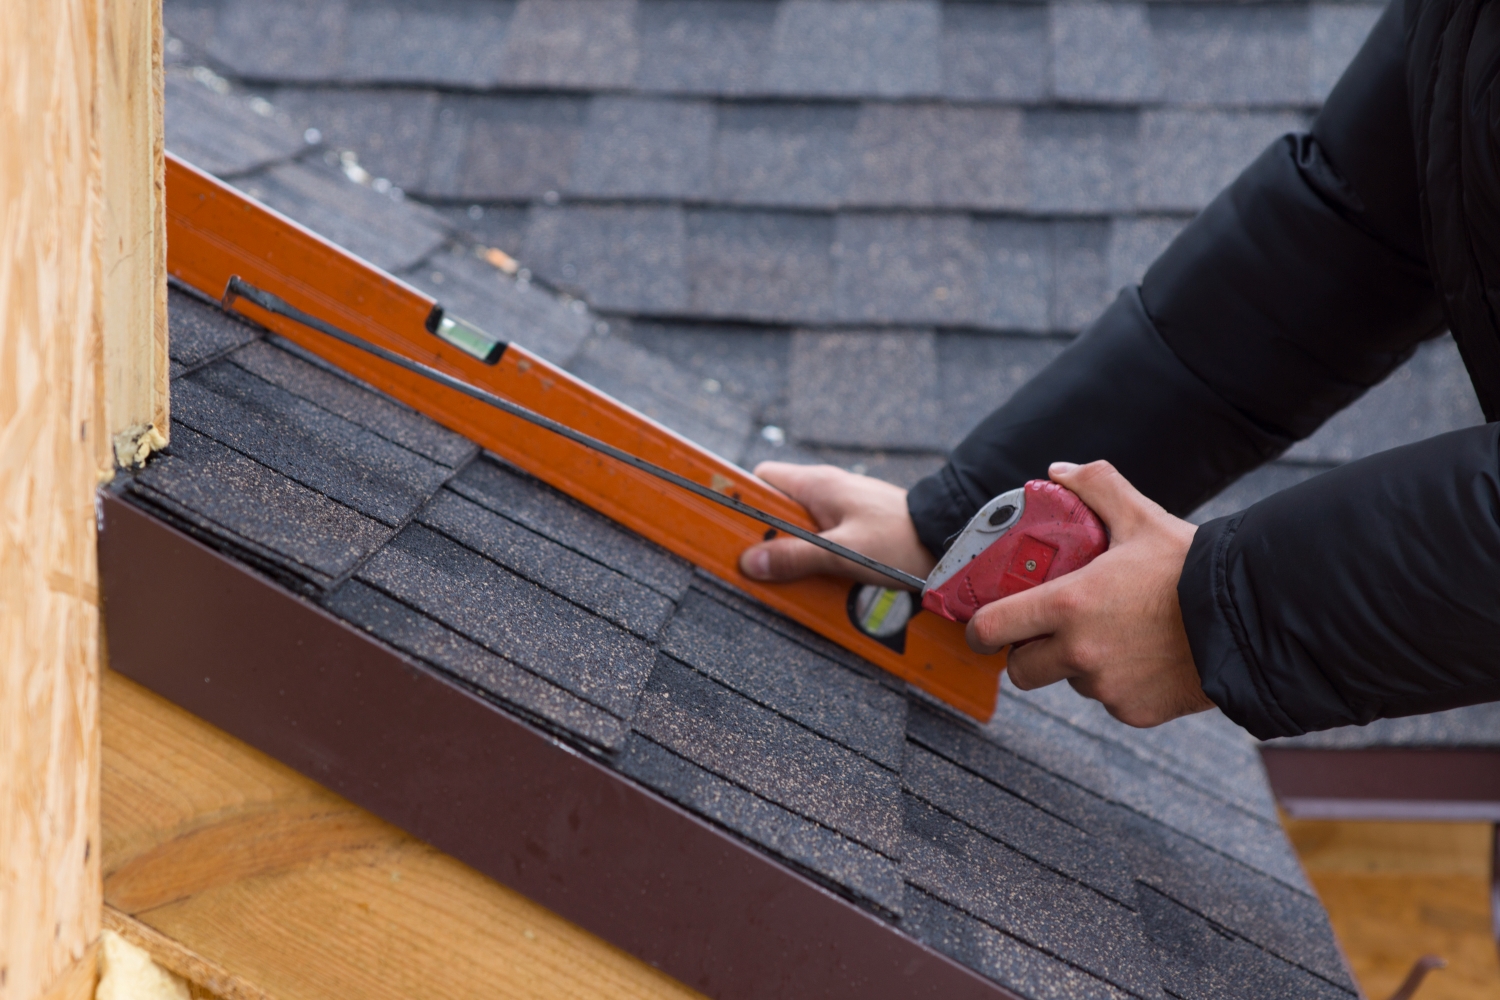
3. Measure the Pitch of Your Roof
To measure the pitch of your existing roof, follow these steps:
- Place a ladder securely against the side of the house and climb up to the roof.
- Lay a level flat on the roof surface.
- Measure 12 inches along the level from the end touching the roof.
- At the 12-inch mark, measure vertically from the level to the roof surface.
- The vertical measurement is the rise, and the horizontal measurement (12 inches) is the run.
For example, if the rise is 3 inches over a 12-inch run, the roof pitch is 3:12. You can also use a pitch gauge or roofing calculator to determine the exact pitch.
4. Mark the Pitch
Use a chalk line to mark the measurements from your pitch calculation on the roof. This will help you ensure that the installation aligns correctly with the pitch requirements.
5. Install the Underlayment
Before laying the shingles, install a high-quality underlayment. For low-slope roofs (between 2:12 and 4:12 pitch), it’s essential to use a double layer of underlayment or specialized materials designed for low-slope applications. The underlayment provides an additional layer of protection against water infiltration.
6. Lay the Shingles
Begin installing the shingles from the bottom edge of the roof, working your way up. Follow the manufacturer’s installation instructions carefully, ensuring each shingle overlaps correctly. Use roofing nails to secure the shingles, and make sure they are driven straight and not over- or under-driven.
For a low-slope roof, consider using additional adhesive or sealant to enhance waterproofing.
7. Inspect and Verify
Once the shingles are installed, inspect the roof to ensure it meets the required pitch and installation standards. Verify that there are no gaps, misaligned shingles, or other issues that could compromise the roof’s performance.
Legal Considerations
Some regions may have additional legal considerations based on local and state ordinances. It’s essential to consult with local building authorities to ensure compliance with all regulations. Non-compliance can lead to fines, legal issues, and potential safety hazards.
Minimum Pitch Made Easy
In summary, finding the minimum pitch for shingles is a crucial step in ensuring the longevity and performance of your roof. By understanding the importance of minimum pitch, measuring your roof accurately, and adhering to manufacturer guidelines and local codes, you can achieve a successful and compliant roofing project.
We hope this guide has made the process clearer and more manageable. If you need or want additional support for your roofing needs, don’t hesitate to reach out to Shingle and Metal Roofs. We’re the roofing contractor here to help you every step of the way.
Feel empowered to take on your roofing project with confidence. Happy roofing!