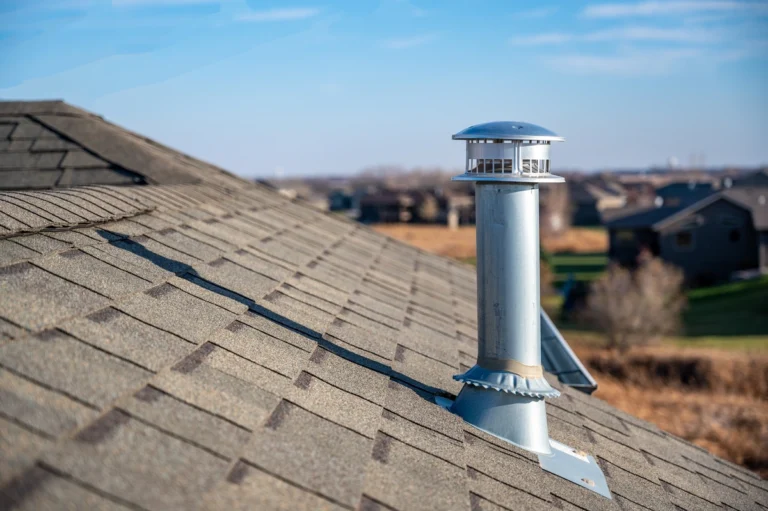
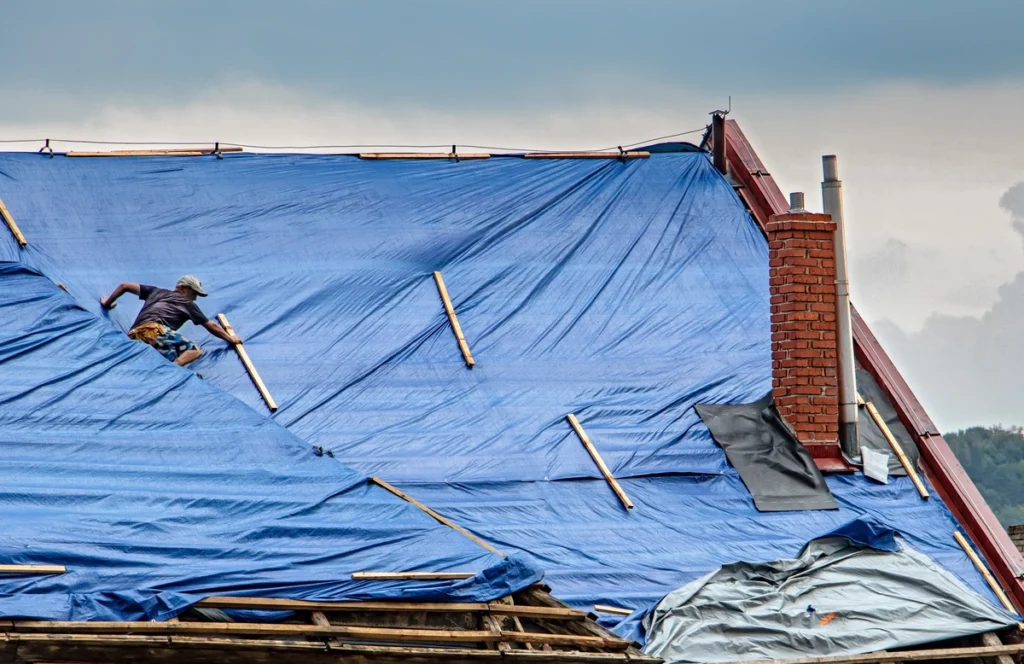
When your roof springs a leak or suffers damage during a storm, immediate action is crucial to prevent further water infiltration and protect your home from potential structural damage. Tarping your roof can provide a temporary fix until professional repairs can be made. In this DIY guide, we’ll walk you through nine easy steps to effectively tarp your roof and keep your home safe and dry. Let’s get started!
Inside this blog:
- The importance of tarping your roof
- 9 actionable steps to tarp your roof like a pro
- Tips + tricks for a successful roof tarping
Ready to learn everything you need to know about how to tarp your roof and keep your home dry? Read on!
Why Tarping Your Roof Matters 💧
Before we dive into the steps, let’s understand why tarping your roof is essential:
Prevents Further Damage
Tarping prevents additional water from entering your home, mitigating the risk of structural damage and costly repairs, which could disrupt your daily life.
Protects Belongings
It safeguards your valuable possessions and interior from water damage, preserving sentimental items and preventing costly replacements.
Temporary Solution
While not a permanent fix, tarping provides immediate relief until professional roof repairs can be arranged, giving you time to plan and budget for the necessary fixes.
Peace of Mind
Tarping allows you to sleep better at night, knowing your home is protected from the elements, and reducing stress during challenging times.
🛠️ Tools and Materials You’ll Need 🛠️
Before you begin, gather the following tools and materials:
- Tarp: Ensure you have a sturdy, waterproof tarp of sufficient size to cover the damaged area.
- Roofing Nails: You’ll need these to secure the tarp in place.
- Hammer: For driving the roofing nails.
- Roofing Cement or Caulk: Used to seal any gaps and improve water resistance.
- Ladder: To access the roof safely.
- Safety Gear: Wear gloves, safety glasses, and non-slip footwear for protection.
Alright, now that you’re equipped with the right handy tools, let’s get to the 9 steps for how to tarp your roof in true DIY fashion!
Step 1: Safety First 🚧
Safety should always come first. Make sure the weather conditions are safe for tarping your roof, and be cautious of slippery surfaces. Use a sturdy ladder to access the roof safely, and wear appropriate safety gear, including gloves and safety glasses.
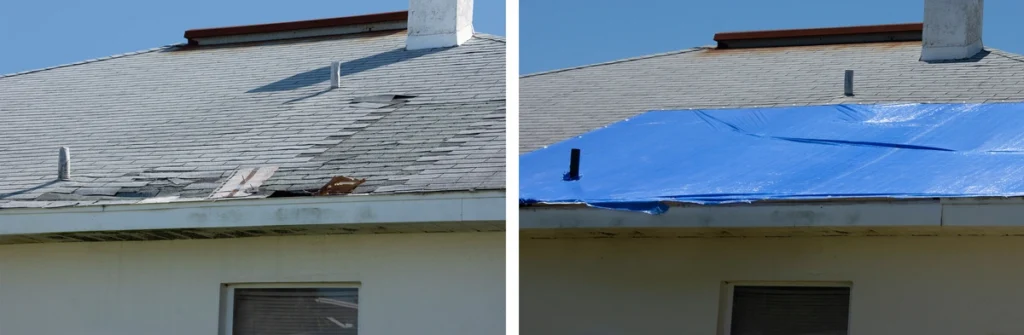
Step 2: Assess the Damage 🕵️♂️
Determine the extent of the damage and locate the affected area on your roof. Look for signs of leaks or visible damage such as missing shingles or holes.
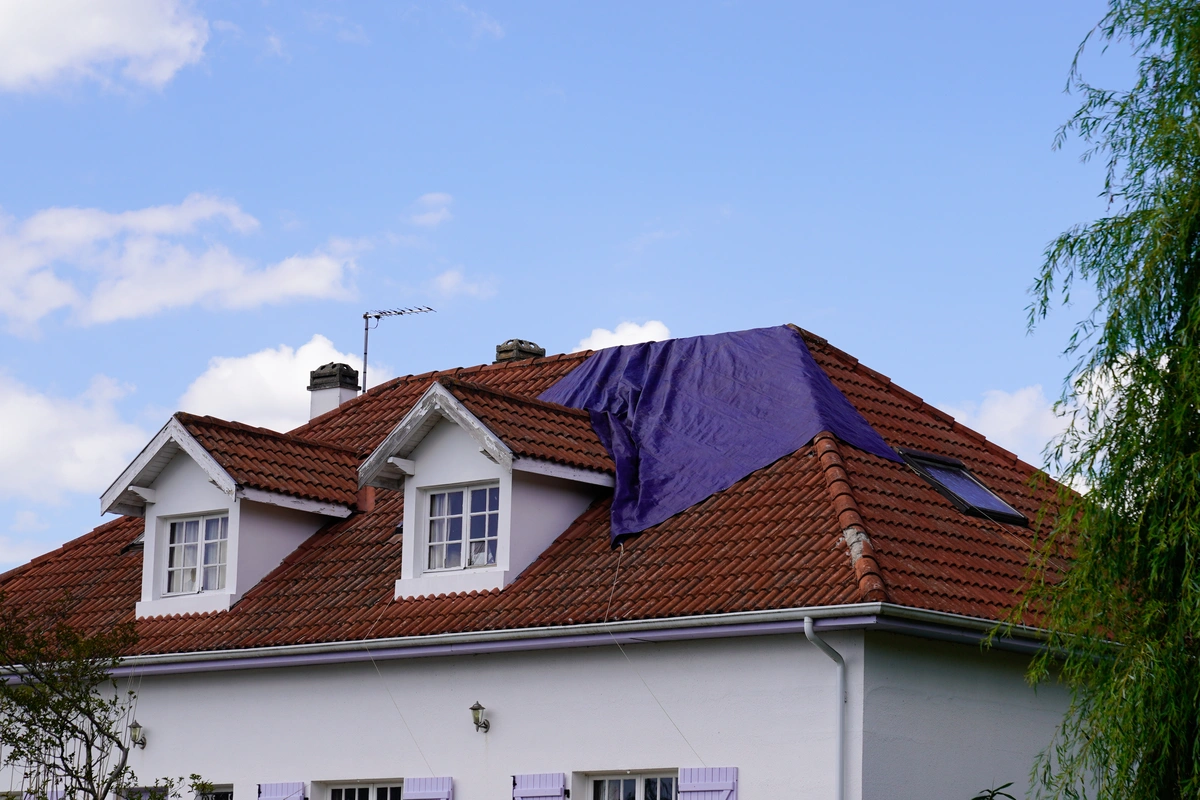
Step 3: Unroll and Position the Tarp 📏
Lay out the tarp on the ground and unroll it to the necessary size, ensuring it can cover the damaged area and extend at least 4 feet beyond the damaged section on all sides, allowing for effective water runoff.
Step 4: Secure the Tarp with Nails 📌
Use roofing nails to secure the tarp to your roof’s surface. Start at one corner and work your way outward, leaving a small overlap between tarp sections to prevent water from seeping through and ensuring a secure, watertight fit.
Step 5: Seal the Edges 🧴
Apply roofing cement or caulk around the edges of the tarp where it meets your roof’s surface. This helps create a watertight seal and further prevents leaks.
Step 6: Secure the Sides 🧰
Use additional roofing nails to secure the sides of the tarp to your roof. Place nails approximately 12-18 inches apart for stability.
Step 7: Secure the Tarp’s Corners 📌
To reinforce the tarp and ensure it stays in place, nail down the corners securely. This extra precaution helps prevent the tarp from lifting in strong winds.
Step 8: Trim Excess Tarp 🪒
If there’s excess tarp extending beyond the secured area, carefully trim it to reduce the risk of the tarp catching the wind and causing damage.
Step 9: Check and Monitor 🕰️
After you’ve tarped your roof, periodically check the tarp to ensure it remains secure and intact, especially during severe weather conditions. Make arrangements for professional roof repairs as soon as possible to address the underlying issue.
💡 Tips for Successful Roof Tarping 💡
Here are some additional tips to make your DIY roof tarping project a success:
- Choose the Right Tarp: Select a tarp made of durable, waterproof material that can withstand exposure to the elements, ensuring that it effectively keeps your home dry and protected.
- Work with a Partner: Tarping a roof can be challenging and dangerous work, so having a partner to help you can make the process safer and more efficient, allowing for better coordination and safety checks.
- Plan for Professional Repairs: While tarping is a temporary solution, it’s essential to arrange for professional roof repairs to address the root cause of the damage and ensure a long-term fix.
- Document Damage: Take photos of the damaged area before and after tarping for insurance purposes, providing evidence of the situation for potential claims.
- Securely Store Tools: Store your tools and materials safely when not in use to prevent accidents and damage, ensuring that they remain in good condition for future use.
- Stay Informed: Keep an eye on weather forecasts, as tarping is most effective when done before heavy rain or storms, allowing you to proactively protect your home.
Keep Your Home Dry With Roof Tarping 🏠
Tarping your roof can be a temporary lifesaver when faced with unexpected roof damage or leaks. By following these nine easy steps and taking necessary precautions, you can effectively protect your home from further damage until professional repairs can be arranged. Remember that safety should always be your top priority, and when in doubt, consult with roofing professionals for guidance and assistance. With the right tools and materials, you can keep your home safe, dry, and protected from the elements.
Contact our expert team of roofers at Shingle and Metal Roofs today and experience speedy turnaround times and unmatched craftsmanship on your home. We’re excited to hear your questions and wants for your next roofing project!