Shingling a roof is a task that might seem daunting, but with the right guidance and tools, it’s definitely something you can tackle like a pro. Whether you’re a homeowner looking to save some money, a DIY enthusiast seeking a new project, or a roofing contractor perfecting your craft, this comprehensive guide will walk you through every step of the shingle installation process.
Why Shingle Roofing?
- Durability: Shingle roofs can last 20-30 years with proper maintenance.
- Affordability: Compared to other roofing materials, shingles are cost-effective.
- Aesthetic Appeal: Available in a variety of colors and styles, shingles can enhance your home’s curb appeal.
Now, let’s dive into the step-by-step process of how to shingle a roof, ensuring it stands up to the elements and adds value to your home.
Step 1: Preparation and Safety
Before you even set foot on your roof, preparation and safety are paramount.
- Inspect the Roof: Check for any damages or weak spots in the existing roof structure.
- Gather Materials and Tools: You’ll need roof shingles, drip edge, roofing nails, metal flashing, a hammer, utility knife, chalk line, roofing cement, and a roofing harness for safety.
- Weather Conditions: Ensure you’re working on a dry, mild day to prevent accidents and ensure materials adhere properly.
Preparation is crucial. Being thorough in this step sets the stage for a successful roofing project.

Step 2: Remove Old Shingles
Removing old shingles is a labor-intensive part of the process but necessary to ensure your new shingles lay flat and adhere properly.
- Use a Shingle Tear-Off Tool: This helps lift the shingles and remove nails.
- Dispose of Debris: Clear the roof deck of all shingles, nails, and other debris.
- Inspect the Decking: Look for any damage or rot that needs repair before proceeding.
Taking the time to clear your roof properly ensures a clean slate for your new shingles.

Step 3: Install Drip Edge
The drip edge is essential for directing water away from the fascia and preventing leaks.
- Start at the Eaves: Nail the drip edge along the eaves, overlapping pieces by about 2 inches.
- Move to the Rakes: Install drip edge along the gable ends (rakes) of the roof.
- Secure Properly: Use roofing nails every 12 inches to secure the drip edge firmly.
A properly installed drip edge acts as the first line of defense against water damage.
Step 4: Lay Down Roofing Underlayment
Roofing underlayment provides an extra layer of protection against moisture.
- Choose Your Underlayment: Options include asphalt-saturated felt or synthetic underlayment.
- Roll Out the Underlayment: Start at the bottom edge of the roof, rolling out horizontally.
- Overlap Sheets: Ensure that each new row overlaps the previous one by at least 6 inches.
- Staple or Nail: Secure the underlayment with cap nails or staples.
Underlayment acts as a waterproof barrier, enhancing the longevity of your roof.
Step 5: Install Starter Shingles
Starter shingles are critical for providing the initial seal and avoiding exposed nails.
- Cut the Tabs: Use a utility knife to cut the tabs off a regular shingle.
- Align the Starter Strip: Place the starter strip with the adhesive side down, flush with the eaves.
- Nail in Place: Use roofing nails to secure the starter shingles, placing nails about 1 inch from the edge and 8-10 inches apart.
Starter shingles lay the groundwork for the rows of shingles to come.
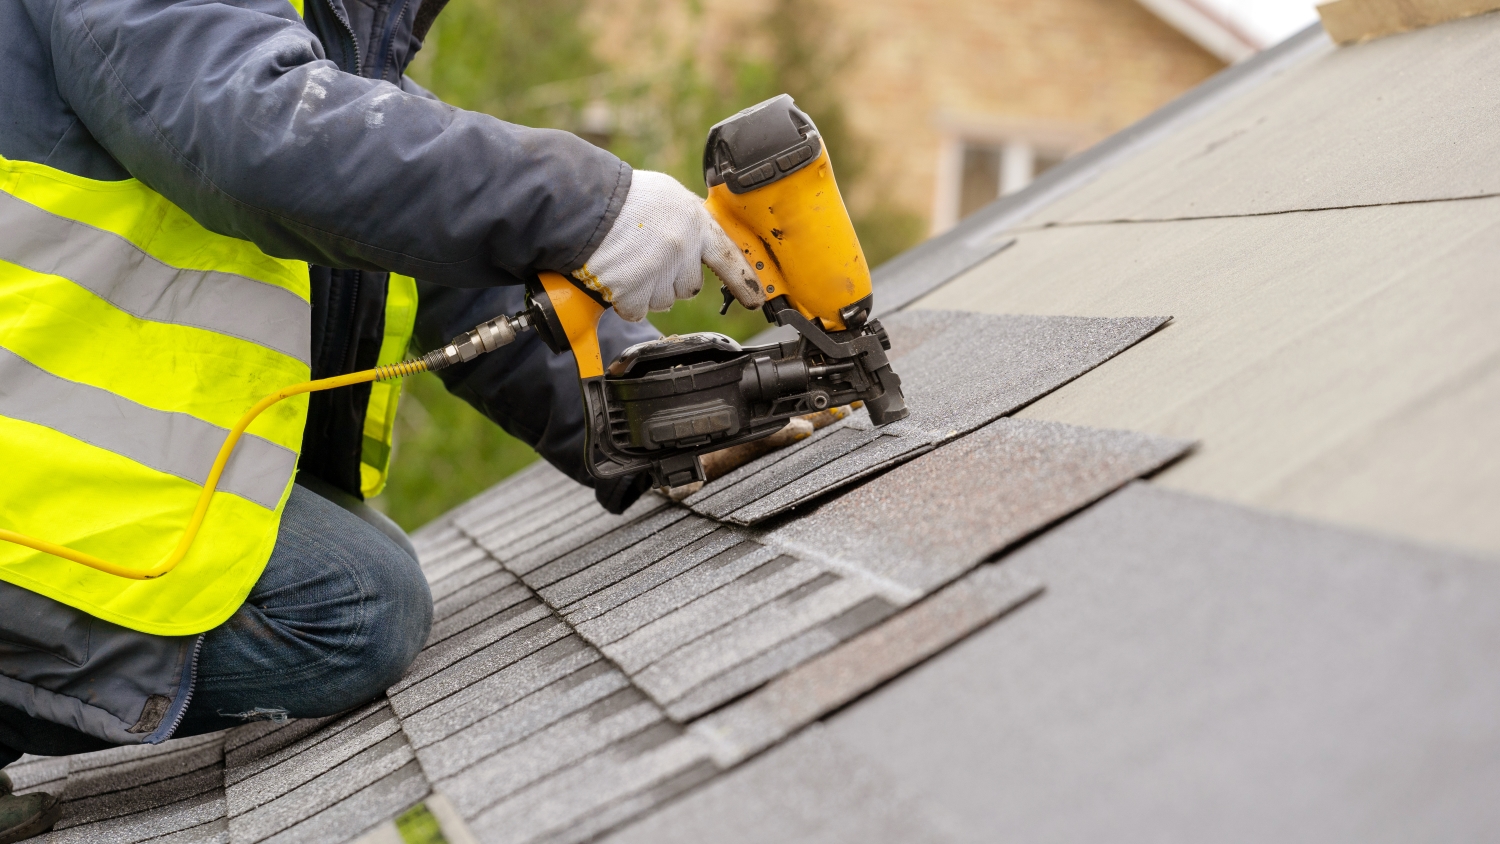
Step 6: Lay the First Row of Shingles
Your first row of shingles sets the pattern for the rest of the roof.
- Align the First Shingle: Place the first shingle flush with the starter strip, overhanging the drip edge by about 1/2 inch.
- Nail Properly: Drive nails about 5 5/8 inches above the bottom edge of the shingle, using four nails per shingle.
- Check Alignment: Use a chalk line to ensure shingles are straight as you move across the roof.
Attention to detail in the first row ensures a uniform look for the entire roof.
Step 7: Continue Shingling
Once the first row is complete, continue laying shingles upward and across.
- Stagger the Joints: Offset each row by half a tab to prevent water infiltration.
- Nail Each Shingle: Follow the same nailing pattern, ensuring each shingle is secure.
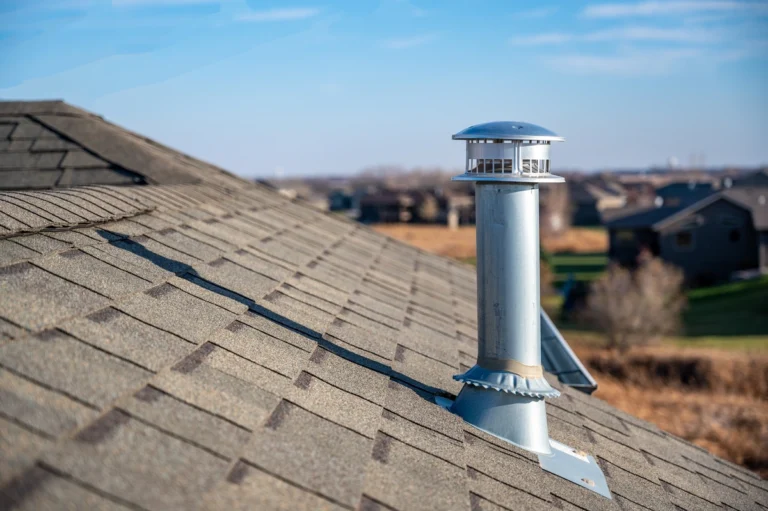
- Cut to Fit: Trim shingles as needed to fit around chimneys, vents, and ridges.
Consistent staggering and nailing maintain the roof’s integrity and appearance.
Step 8: Install Flashing
Flashing is crucial for diverting water away from vulnerable areas of the roof.
- Place Flashing Around Protrusions: Install metal flashing around chimneys, vents, and valleys.
- Seal with Roofing Cement: Apply roofing cement to the edges of the flashing to seal it in place.
- Overlap Shingles: Lay shingles over the flashing, ensuring they cover the edges.
Properly installed flashing protects against leaks in critical areas.
Step 9: Finish with Ridge Cap Shingles
Ridge cap shingles provide the finishing touch for your roof’s peak.
- Cut Ridge Cap Shingles: Use a utility knife to cut shingles into individual ridge caps.
- Align Over the Ridge: Place ridge cap shingles along the roof’s ridge, overlapping each piece.
- Nail Securely: Use nails on both sides of the ridge, ensuring they are concealed by the next cap.
Ridge cap shingles offer a finished look while protecting the roof’s peak.
Step 10: Inspect and Clean Up
A thorough inspection and cleanup finalize your project, ensuring everything is in place.
- Check for Exposed Nails: Ensure all nails are covered or sealed.
- Inspect for Gaps or Lifts: Look for any areas where shingles might not be properly adhered.
- Clean Up Debris: Remove any leftover materials and ensure the area around your home is clean.
Attention to these final details ensures the longevity and appearance of your roof.
Shingle Your Roof Like a Pro
Shingling a roof might seem like a daunting task, but with careful preparation and attention to detail, it’s a project that can be accomplished successfully. Whether you’re a homeowner, a DIY enthusiast, or a roofing contractor, following these steps ensures a durable, attractive roof that stands the test of time.
At Shingle and Metal Roofs, we are the pros at shingle roof installation. If you need professional assistance or want to ensure your roof is installed perfectly, contact us today to set up your appointment!