
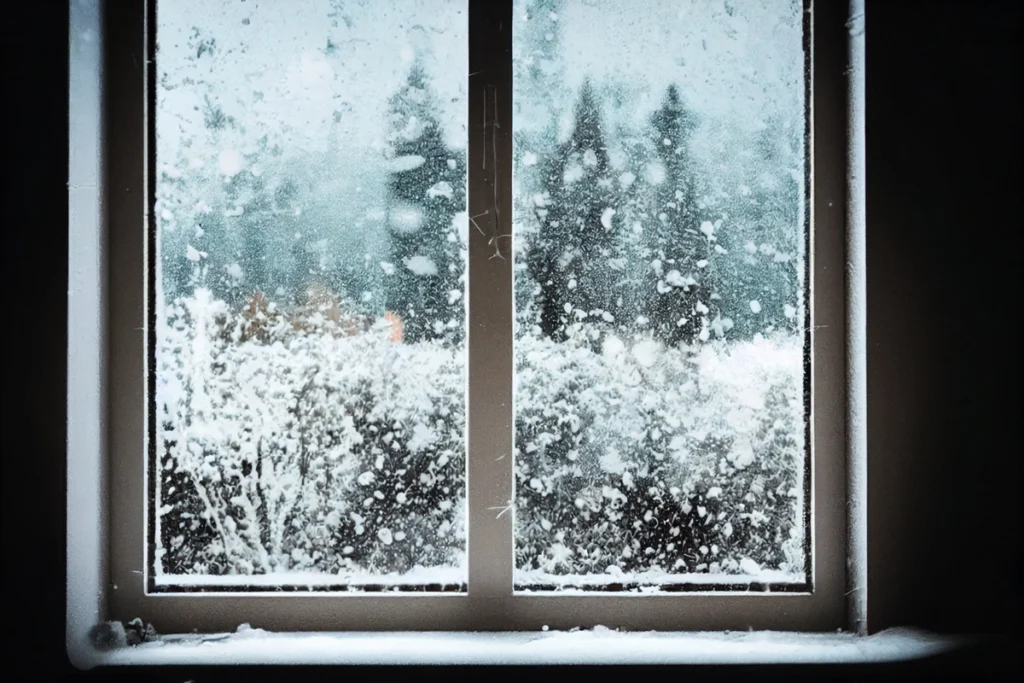
Winter is just around the corner, and while you may be looking forward to cozy evenings by the fireplace, it’s also the time to prepare your home for the colder months. One crucial aspect of winterizing your home is sealing your windows to keep the warmth in and the cold out. In this guide, we’ll walk you through seven straightforward steps to ensure your windows are properly sealed for winter, helping you stay comfortable and energy-efficient. Let’s get started on making your home a warm and snug haven!
Inside this blog:
- Why it’s important to ensure your windows are sealed for winter
- How to effectively seal your windows
- Tips + tricks for a successful window sealing
Keep reading to learn how you can make sure you stay warm and toasty in your home all winter long!
❄️ Why Seal Your Windows for Winter ❄️
Before we dive into the steps, it’s essential to understand why sealing your windows for winter is important:
Energy Efficiency
Properly sealed windows prevent warm indoor air from escaping and cold outdoor air from entering, reducing heating costs and ultimately saving you money on your energy bills.
Comfort
Sealed windows help maintain a consistent indoor temperature, ensuring a comfortable living environment throughout the winter, so you can cozy up without worrying about chilly drafts.
Reduced Drafts
Sealing eliminates drafts, which can make your home feel colder and less inviting, allowing you to enjoy a warmer and cozier atmosphere during the colder months.
Environmental Impact
By reducing energy consumption, you’re also reducing your carbon footprint, contributing to a more sustainable and eco-friendly home while keeping warm and comfortable.
🧰 Tools and Materials You’ll Need 🧰
Gather the following tools and materials before you begin:
– Caulk Gun: To apply caulk.
– Caulk: Choose a high-quality, weatherproof caulk suitable for your window type.
– Weatherstripping: Self-adhesive weatherstripping tapes for sealing gaps.
– Utility Knife: For trimming excess materials.
– Window Film Kit: Optional for extra insulation.
– Screwdriver: To remove and reattach window hardware if needed.
– Window Insulation Kits: Optional, for insulating large windows.
7 Steps to Seal Your Windows for Winter

Now, let’s go through the steps to winterize your windows effectively:
1. Inspect Your Windows
Begin by inspecting all your windows for drafts, gaps, or any visible damage, paying extra attention to corners and edges where problems often occur. Look for cracks in the caulk or damaged weatherstripping, and don’t forget to check both interior and exterior surfaces.
2. Remove Old Caulk and Weatherstripping
If you find old or damaged caulk and weatherstripping, it’s essential to remove them completely to create a clean and effective sealing surface without air leaks. Use a utility knife or scraper to gently take off the old material, ensuring that there are no remnants left behind.
3. Clean the Window Frames
Before applying new sealing materials, make sure the window frames are clean and free of dirt or debris, as a clean surface ensures better adhesion. Wipe them down with a damp cloth and a mild cleaning solution if needed, and allow them to dry completely to avoid trapping moisture under the new seal.
4. Apply Caulk to Gaps and Cracks
Use your caulk gun to apply a bead of caulk along any gaps or cracks in the window frame, working systematically from one end to the other. Be sure to fill these spaces completely and evenly, ensuring a continuous and airtight seal that prevents any air infiltration or heat loss.
5. Install Weatherstripping
For movable parts of the window, like sashes or frames, apply self-adhesive weatherstripping tapes along the edges, ensuring a snug fit that adheres tightly when the window is closed. This added layer of insulation helps eliminate drafts and enhances energy efficiency.
6. Consider Window Film
If you have single-pane windows or particularly drafty areas, consider using a window film kit. These kits come with plastic film that you attach to the window frame with double-sided tape, creating an additional thermal barrier. Afterward, you use a hairdryer to shrink the film, creating a tight seal that further reduces heat loss and cold air infiltration.
7. Test for Drafts
Once you’ve completed the sealing process, check for any remaining drafts to ensure the effectiveness of your efforts. Light a candle and hold it near the window’s edges, especially around the areas you’ve sealed. If the flame flickers or moves, there might still be a draft, indicating that you’ll need to reseal that particular area to achieve a fully airtight seal.
💡 Additional Tips for Effective Window Sealing 💡
Here are some extra tips to make your window sealing efforts even more effective:
- Choose the Right Caulk: Select a caulk suitable for your window type and the climate in your area. Silicone-based caulk is a good choice for flexibility and durability.
- Check the Exterior: Don’t forget to inspect the exterior of your windows for gaps and cracks as well. You may need to address outdoor sealing issues.
- Pay Attention to Window Hardware: Ensure that you can still open and close your windows properly after sealing. If you encounter any issues, adjust or replace window hardware as needed.
- Consider Window Insulation Kits: For larger windows, sliding glass doors, or exceptionally drafty areas, window insulation kits provide an extra layer of insulation.
- Regular Maintenance: Keep an eye on your sealed windows throughout the winter. If you notice any issues, reseal or repair as needed to maintain efficiency.
Stay Warm This Winter With Sealed Windows 🪟
Sealing your windows for winter is a practical and cost-effective way to keep your home warm and cozy while reducing your energy bills. By following these seven simple steps and implementing the additional tips, you can ensure your windows are ready to face the cold months ahead. With a well-sealed home, you can enjoy winter without worrying about drafts and high heating costs. Stay warm and comfortable in your winter wonderland!
Contact our expert team of roofers at Shingle and Metal Roofs today and experience speedy turnaround times and unmatched craftsmanship on your home. We’re excited to hear your questions and wants for your next roofing project!