Has your window screen seen better days? Whether it’s been damaged by weather, pets, or general wear and tear, replacing a window screen is a straightforward DIY project that can instantly improve your home’s comfort and appearance. In this step-by-step guide, we’ll walk you through the process of replacing a window screen so you can enjoy fresh air without the hassle of bugs and debris.
Inside this blog:
- The benefits of replacing your window screens
- 8 key steps for how to replace a window screen in true DIY fashion
Keep reading to become an expert on how to replace a window screen so you can keep your come comfortable and fresh!
Why Replace Your Window Screen? 🪟
Before we dive into the steps, let’s understand why replacing a damaged or old window screen is essential:
Improved Ventilation
A new window screen allows fresh air to flow freely into your home while keeping insects out, creating a more pleasant and healthier indoor environment. It also allows you to enjoy the natural breeze without the worry of unwanted pests.
Energy Efficiency
Properly maintained screens help maintain indoor temperatures, reducing the need for air conditioning, which not only lowers your energy bills but also contributes to a greener, more sustainable living environment.
Curb Appeal
Replacing damaged screens can enhance the overall appearance of your home, giving it a polished and inviting look that can leave a positive impression on visitors and potential buyers if you decide to sell your property in the future.
Reduced Maintenance
A new screen requires less maintenance and cleaning compared to an old, worn-out one. This means less time spent on maintenance tasks and more time to enjoy your home and other activities you love. It’s a simple way to make your life easier and more enjoyable.
Tools and Materials You’ll Need 🧰
Here are the tools and materials you’ll need to replace a window screen:
– New window screen: Make sure it’s the right size for your window frame.
– Spline roller: A tool to install the spline (rubber cord) securely.
– Spline (rubber cord): This holds the screen in place.
– Utility knife: For cutting the screen and excess spline.
– Flathead screwdriver: To remove the old spline and screen.
– Measuring tape: To measure the dimensions of your window frame.
– Scissors: For trimming the screen.
– Work gloves: To protect your hands from sharp edges and materials.
8-Step Guide to Replacing Your Window Screen 🔧
Now let’s walk through the process of replacing your window screen:
1. Measure and Purchase the Right Screen
- Start by measuring your window frame to ensure you purchase a screen of the correct size.
- Take measurements of both the width and height of the frame.
- Visit your local hardware store or order a replacement screen online.
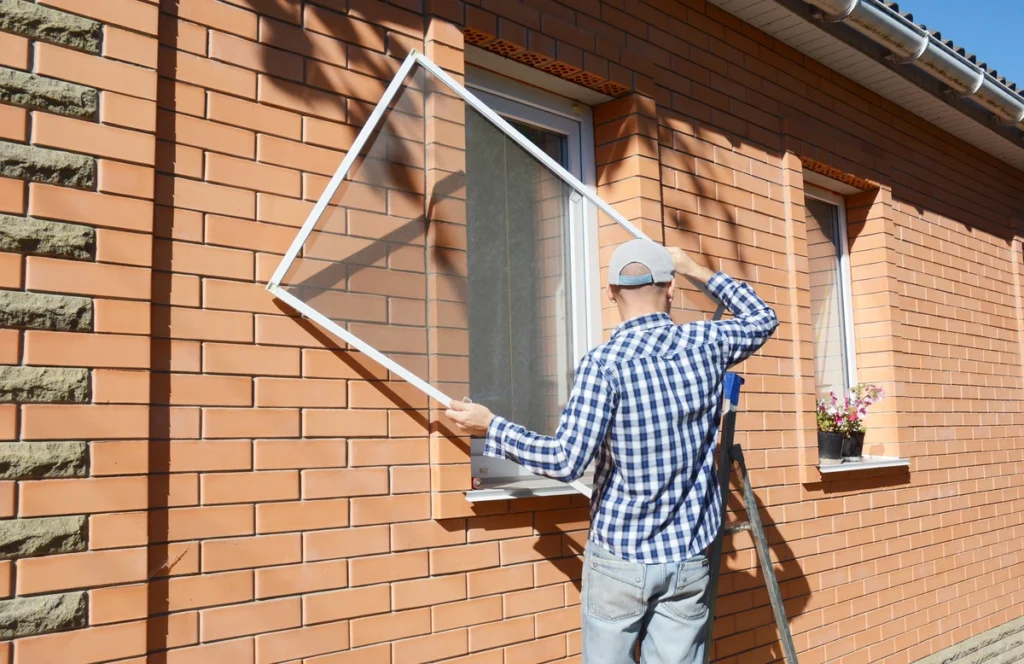
2. Remove the Old Screen
- Put on your work gloves to protect your hands.
- Use a flathead screwdriver to carefully remove the old spline by gently prying it out from the frame.
- Take out the damaged or old screen from the frame.
3. Clean the Frame
- Clean the window frame to remove any dirt, debris, or old adhesive.
- Ensure the frame is dry before proceeding.
4. Attach the New Screen
- Unroll the new window screen over the frame, leaving a few inches of excess on all sides.
- Use clips or weights to hold the screen in place temporarily.
5. Install the Spline
- Insert the spline into the groove of the frame. Start at one corner and press it into place with your fingers.
- Use a spline roller to firmly press the spline into the groove. Roll it along the entire frame, ensuring the screen is taut and secure.
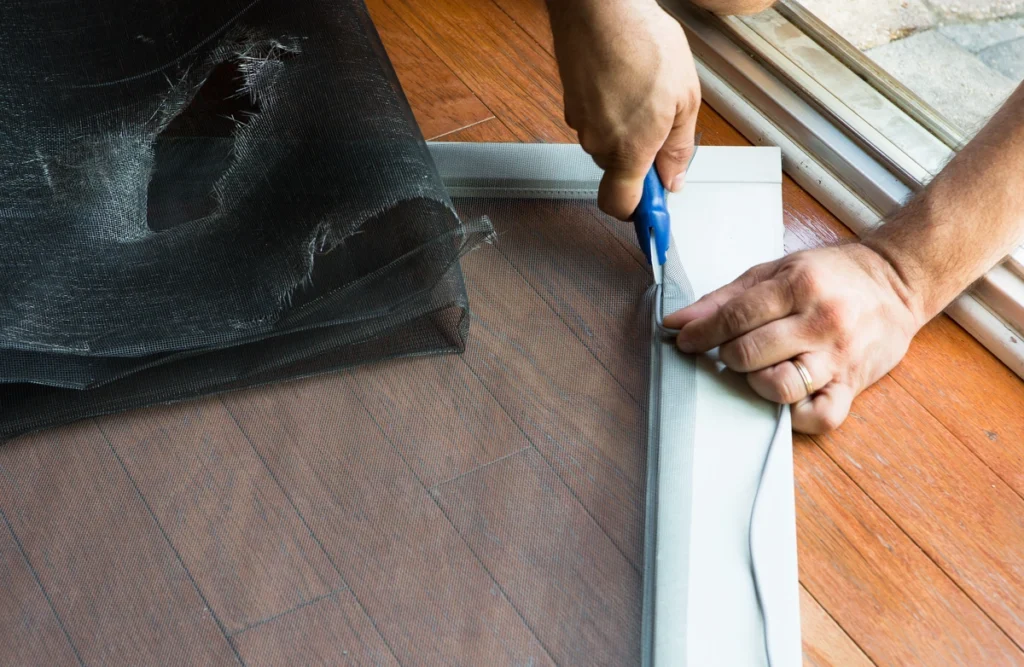
6. Trim the Excess Screen
- Trim the excess screen around the frame using a utility knife.
- Be careful not to cut too close to the spline to avoid damaging the screen.
7. Inspect and Adjust
- Examine the screen to ensure it’s evenly stretched and securely held by the spline.
- If needed, you can use the spline roller to adjust and tighten the screen.
- Trim any remaining excess spline.
8. Reinstall the Screen
- Carefully place the screen back into the window frame.
- Make sure it fits snugly and is centered within the frame.
DOs + DON’Ts for Replacing Window Screens
Here’s a quick list of dos and don’ts to keep in mind while replacing your window screens:
The DOs ✔️
– Do measure your window frame: Ensure you purchase the correct size of replacement screen, as a well-fitting screen is essential for effective bug protection and a polished look.
– Do wear work gloves: Protect your hands from sharp edges and materials, ensuring your safety while working on the project.
– Do clean the frame: Remove any dirt, debris, or old adhesive from the frame before installing the new screen to ensure a clean and secure attachment.
– Do use a spline roller: It helps secure the spline and screen tightly into the frame, ensuring a snug fit that will last.
– Do inspect and adjust: Carefully examine the screen after installation, and make any necessary adjustments to ensure it’s properly stretched and secure, guaranteeing that your newly replaced screen functions effectively.
The DON’Ts ✖️
– Don’t rush: Take your time during the process to ensure a proper fit and secure installation, as rushing can lead to mistakes and a less effective window screen.
– Don’t cut too close to the spline: Be cautious when trimming the excess screen to avoid damaging the spline or screen, ensuring the integrity of the newly replaced screen.
– Don’t use excessive force: When using the flathead screwdriver or spline roller, apply gentle and even pressure to avoid damaging the frame or screen, preventing unnecessary repairs or replacements.
Replace Your Window Screens & Boost Your Home’s Comfort
Replacing a window screen is a relatively simple and satisfying DIY project that can enhance your home’s comfort and appearance. By following these steps and adhering to the dos and don’ts, you can enjoy fresh air, improved energy efficiency, and a well-maintained exterior. So, roll up your sleeves, gather your tools, and get ready to enjoy bug-free ventilation in no time.
Contact our expert team of roofers at Shingle and Metal Roofs today and experience speedy turnaround times and unmatched craftsmanship on your home. We’re excited to hear your questions and wants for your next roofing project!