
Planning to install new shingles on your roof? Before diving into the project, it’s essential to measure your roof accurately to determine the amount of material you’ll need. While it may seem daunting, measuring a roof for shingles is a straightforward process that any homeowner can tackle with the right tools and guidance. In this homeowner’s guide, we’ll walk you through the six steps to measure your roof effectively, ensuring a successful shingle installation. Let’s get started!
Inside this blog:
- 6 steps to measuring your roof before shingle installment
- Tips under each step to help ensure a successful installation
- 3 key benefits of getting correct roof measurements
Keep reading to make sure you get your measurements right so you can enjoy the benefits of a beautiful, durable shingle roof!
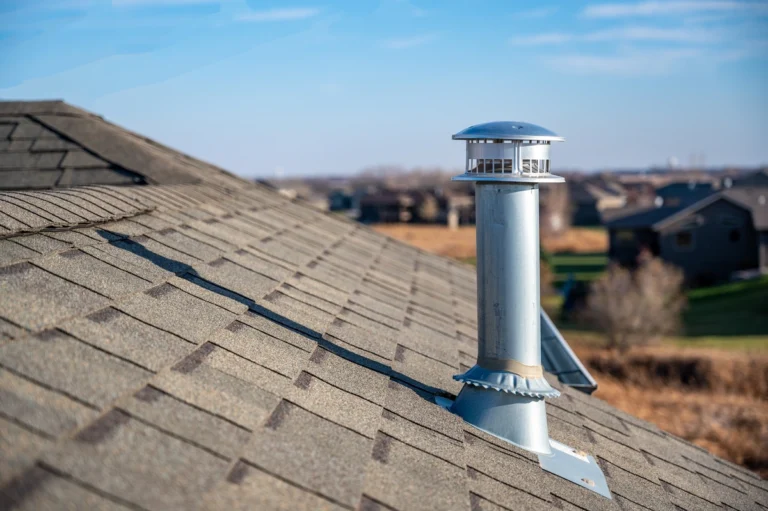
Step 1: Determine Roof Pitch

Before diving into measuring your roof’s surface area for shingles, it’s crucial to determine its pitch. The pitch of a roof refers to its slope or steepness, which directly affects how water drains off the surface.
- You can use various methods to measure roof pitch, depending on your preference and available tools.
- For a straightforward approach, consider using a pitch gauge or a smartphone app designed for this purpose.
- Alternatively, you can estimate the pitch manually using a ladder and a level.
Once you have determined the pitch, whether it’s a low slope or a steeper incline, you can proceed to calculate the roof area more accurately, taking into account its unique characteristics.
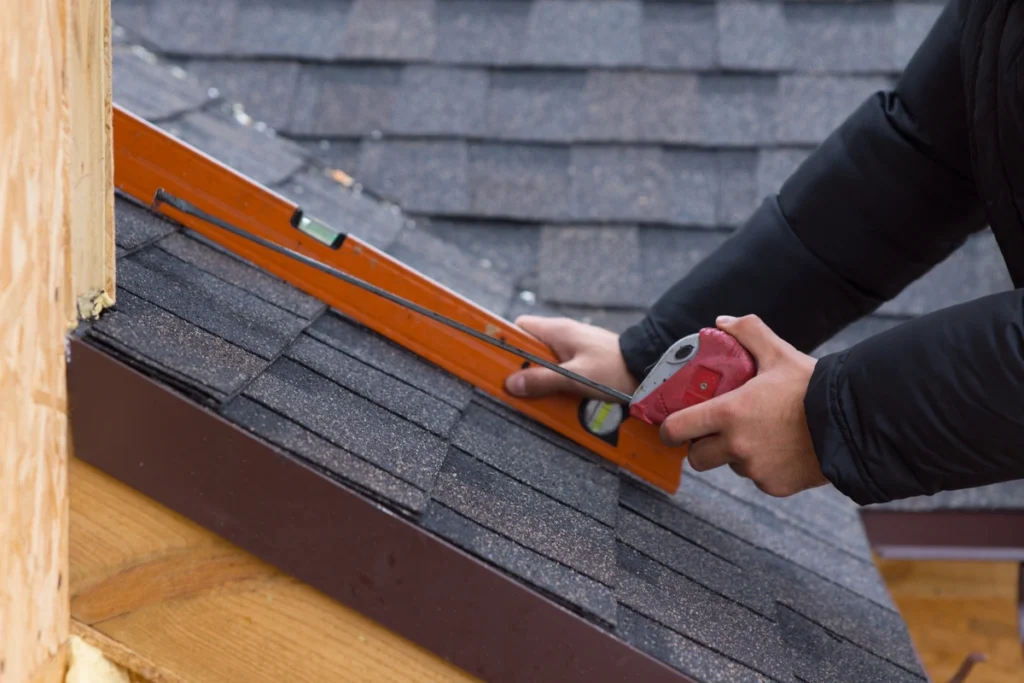
Step 2: Calculate Roof Area
After establishing the roof pitch, the next step is to calculate the area of each section of your roof. This process involves measuring the length and width of each section and multiplying these dimensions together.
- For simpler roof shapes, such as rectangular or square sections, this calculation may be relatively straightforward.
- However, for more complex roof designs with multiple angles and sections, it may be necessary to divide the roof into smaller, manageable sections and calculate each one individually.
Once you have determined the area of each section, you can sum them up to obtain the total roof area, providing a basis for estimating the amount of shingles needed for the entire roof surface.
Step 3: Account for Overhangs and Eaves
When measuring your roof, it’s essential to account for overhangs and eaves, which extend beyond the walls of the house. These areas contribute to the overall dimensions of your roof and must be included in your measurements to ensure accurate calculations.
Take the time to measure the length of each overhang and add it to your roof measurements. By accounting for overhangs and eaves, you can ensure that you have enough shingles to cover the entire roof surface effectively, including these protruding edges.
Step 4: Adjust for Waste Factor
As you prepare to calculate the amount of shingles needed for your roof, it’s crucial to factor in a waste factor. This additional allowance accounts for various factors, such as cutting and trimming waste, as well as any mistakes or miscalculations that may occur during the installation process.
- The waste factor typically ranges from 5% to 15%, depending on the complexity of your roof and your level of experience with shingle installation.
- By adjusting for a waste factor upfront, you can ensure that you have an adequate supply of shingles on hand to complete the project without running short unexpectedly.
Step 5: Choose Shingle Bundles
With the roof area calculated and the waste factor considered, you can now determine the number of shingle bundles needed for your project. Most shingle manufacturers provide coverage per bundle, typically ranging from 20 to 30 square feet.
- To calculate the number of bundles required, simply divide the total roof area by the coverage per bundle.
- This straightforward calculation gives you a precise estimate of the quantity of shingle bundles needed to cover your roof adequately.
Additionally, it’s advisable to round up to the nearest whole number to ensure you have enough shingles to complete the installation without delays.
Step 6: Plan for Accessories
In addition to shingles, it’s essential to plan for other roofing materials and accessories necessary for a successful installation. These accessories, such as underlayment, flashing, and ridge caps, play a vital role in ensuring the durability and longevity of your new roof.
- When estimating the quantities needed for these items, consider factors such as the size and complexity of your roof, as well as any specific requirements outlined by the shingle manufacturer.
- By making a comprehensive list of all necessary accessories and estimating their quantities based on your roof measurements, you can streamline the installation process and avoid last-minute delays or shortages.
The Importance of Getting Measurements Right
Taking accurate roof measurements before installing shingles offers 3 key benefits that can save you time, money, and headaches down the line:
1. Ensures Sufficient Material
By measuring your roof accurately, you can determine the exact amount of shingles needed for the project. This prevents the hassle of running out of materials mid-installation and having to make additional trips to the store.
Plus, it helps you avoid unnecessary expenses by only purchasing what you need.
2. Improves Efficiency
Accurate measurements enable you to plan the installation process more effectively. With a clear understanding of the roof’s dimensions, you can streamline the workflow, minimize wasted time, and complete the project more efficiently. This means less time spent on labor and fewer disruptions to your daily routine.
3. Prevents Costly Mistakes
Taking precise measurements helps prevent costly mistakes during the installation process. By identifying potential issues upfront, such as insufficient coverage or incorrect placement of shingles, you can avoid the need for costly repairs or replacements later on.
Additionally, accurate measurements reduce the risk of structural damage to your roof, ensuring a long-lasting and durable installation. So if you’re worried about getting it right, reach out to a professional roofing contractor who can ensure your roof shingles will be installed correctly and aligned perfectly.
🏠 Measure Your Roof For a Successful Installation
Measuring your roof for shingles may seem daunting at first, but with the right tools and guidance, it’s a manageable task that any homeowner can tackle. By following these six steps, you can accurately calculate the amount of shingles needed for your roof, ensuring a successful and stress-free installation process. So grab your tape measure and get started – your new roof awaits!
Contact our expert roofing contractors at Shingle and Metal Roofs to experience top quality customer service and dedicated workmanship. We can’t wait to hear your vision for your next roofing project–let’s get the ball rolling!