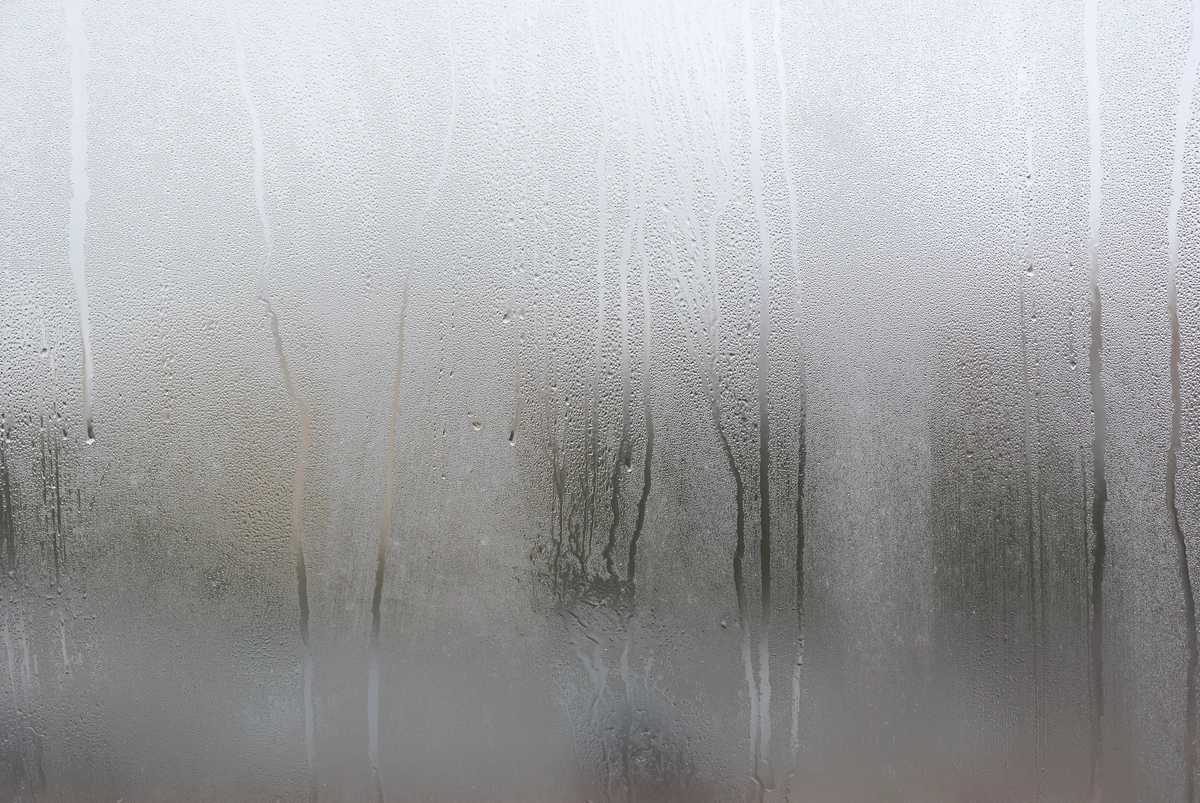
Tired of looking through foggy, clouded windows that obstruct your view and make your home feel dreary? Foggy windows are not only unsightly but can also indicate a more significant issue with your window’s seal or insulation. But fear not, homeowners! With a little DIY know-how, you can tackle foggy windows and restore clarity to your view in no time. In this guide, we’ll walk you through seven simple steps to fix foggy windows and bring back the sparkle to your home. Let’s get started!
Inside this blog:
- 7 easy steps to fix your foggy windows effectively
- Tips underneath each step to ensure a successful defogging
Keep reading to find out the 7 steps you need to take to ensure your windows are crystal clear all year round!
1. Assess the Damage
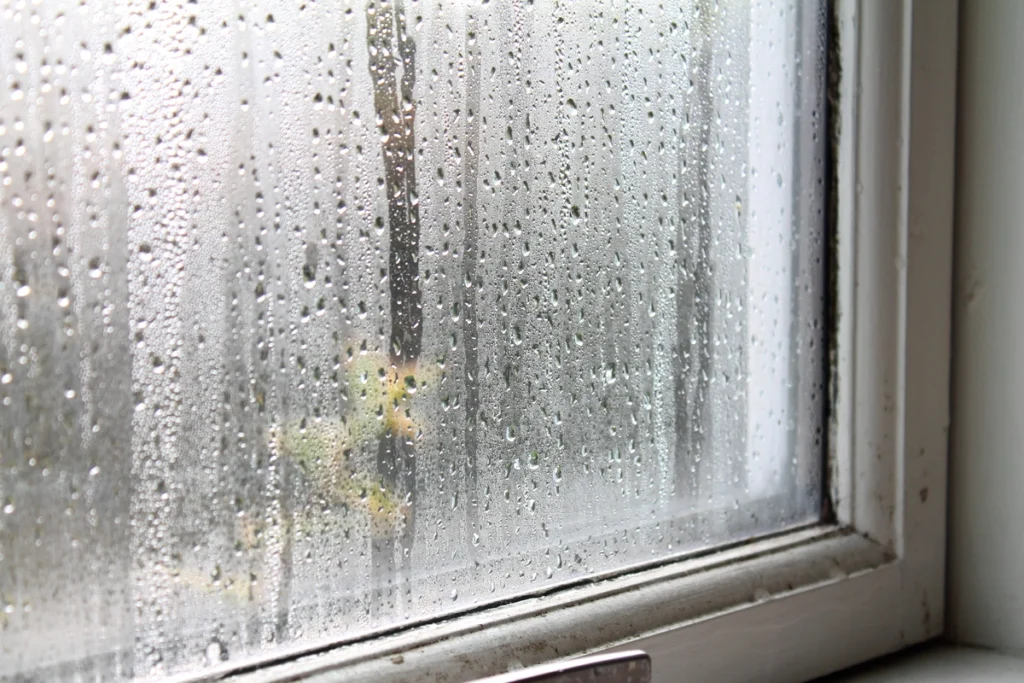
The first step in fixing foggy windows is to assess the extent of the damage. Determine whether the fog is on the inside or outside of the glass. If the fog is on the inside, it’s likely due to a broken seal between the glass panes. If the fog is on the outside, it may be caused by condensation or dirt buildup. Identifying the source of the fog will help you determine the best course of action.
- Check Inside and Outside: Assess whether the fog is on the inside or outside of the glass to identify the cause of the problem.
- Look for Signs of Damage: Inspect the window frames and seals for any signs of damage or deterioration that may be contributing to the fogging.
2. Remove the Window Panes
Once you’ve identified the source of the fogging, it’s time to remove the affected window pane, whether you have single pane windows or double pane windows, for closer inspection and repair. Carefully remove any trim or molding around the window to access the glass pane. Use a putty knife or screwdriver to gently pry the window pane away from the frame, taking care not to damage the surrounding area.
- Be Gentle: Take your time and work carefully to avoid damaging the window frame or surrounding trim.
- Use the Right Tools: Use a putty knife or screwdriver to carefully pry the window pane away from the frame without causing any damage.
3. Clean the Glass
With the window pane removed, thoroughly clean both sides of the glass to remove any dirt, dust, or debris that may be contributing to the window’s fog. Use a glass cleaner and a soft, lint-free cloth to gently wipe away any grime or residue. Be sure to clean both the inside and outside of the glass for optimal clarity.
- Use a Glass Cleaner: Choose a high-quality glass cleaner to ensure a streak-free finish and maximum clarity.
- Use a Soft Cloth: Avoid using abrasive materials that could scratch or damage the glass. Instead, use a soft, lint-free cloth to gently wipe away dirt and grime.
4. Replace the Seal

If the fogging is caused by a broken window seal between the glass panes, you’ll need to replace the seal to restore the window’s insulation and prevent future fogging. Carefully remove any remaining sealant from the window frame using a putty knife or scraper. Apply a new bead of sealant around the edge of the glass pane, ensuring a tight seal to prevent air and moisture infiltration.
- Choose the Right Sealant: Select a high-quality sealant designed specifically for window repair to ensure a durable and long-lasting seal.
- Apply Evenly: Use a steady hand to apply the sealant evenly around the edge of the glass pane, ensuring a tight and secure seal.
5. Reinstall the Window Pane
Once the sealant has been applied, carefully reinsert the window pane into the frame, taking care to align it properly. Press the pane firmly into place, ensuring that it sits flush against the frame and the sealant forms a tight bond. Replace any trim or molding that was removed earlier, securing it in place with nails or screws.
- Ensure Proper Alignment: Take your time to ensure that the window pane is properly aligned within the frame before securing it in place.
- Secure Trim or Molding: Use nails or screws to secure any trim or molding that was removed earlier, ensuring a snug and secure fit.
6. Allow Time to Cure
After reinstalling the window pane, allow the sealant to cure for the recommended amount of time before closing the window or exposing it to moisture. This will ensure that the sealant forms a strong bond and provides optimal insulation against air and moisture infiltration. Check the manufacturer’s instructions for specific curing times.
- Follow Manufacturer’s Instructions: Refer to the manufacturer’s instructions for specific curing times and recommendations for optimal results.
- Avoid Excess Moisture: Keep the window dry and avoid exposing it to excess moisture until the sealant has fully cured to prevent damage or compromise to the seal.
7. Test for Leakage
Once the sealant has cured, it’s time to test the window for any signs of leakage or fogging. Spray a fine mist of water onto the outside of the window and observe for any signs of moisture infiltration or fogging on the inside. If you notice any leaks or fogging, carefully inspect the window for gaps or gaps in the seal and reapply sealant as needed.
- Perform a Water Test: Spray a fine mist of water onto the outside of the window and observe for any signs of moisture infiltration or fogging on the inside.
- Check for Gaps: Carefully inspect the window for any gaps or breaks in the seal and reapply sealant as needed to ensure a tight and secure fit.
Say Goodbye to Foggy Windows
There you have it – seven simple steps to fix foggy windows and restore clarity to your view. With a little DIY know-how and the right tools, you can tackle foggy windows like a pro and enjoy a clear, unobstructed view of the world outside. So go ahead, roll up your sleeves, and get ready to say goodbye to every foggy window for good!
Contact our expert team of roofing contractors for any questions or concerns about the roof that protects your home. We want to ensure that your home stays safe with a durable and beautiful roof for years to come!