Are you noticing that unsightly green moss taking over your roof? Not only does moss make your roof look old and neglected, but it can also cause significant damage if left untreated. Don’t worry—we’ve got you covered. This comprehensive guide will teach you everything you need to know about roof moss removal to keep your home looking pristine and structurally sound, including:
- Why roof moss is a problem
- DIY moss removal considerations
- 7-step guide to removing moss from your roof
- The importance of professional assistance
🤔 Why Roof Moss is a Problem

Moss may look harmless, but it can be quite destructive. Moss retains moisture, which can lead to the deterioration of roofing materials. Over time, this can result in leaks or even structural damage. Moss can create a breeding ground for mold and mildew, which can pose health risks to you and your family.
Early Signs of Moss Growth
Knowing when to act is crucial. Here are some early signs that moss is starting to take hold on your roof:
- Green patches forming on the shingles or tiles
- A noticeable increase in moisture retention
- Slippery surfaces on walkways and driveways adjacent to the mossy areas
Preventive Measures to Keep Moss at Bay
Prevention is the best cure. Implement these measures to keep moss from becoming a problem:
- Trim Overhanging Branches: Moss thrives in shady, damp conditions. By trimming back branches, you’ll allow more sunlight to reach your roof, making it less hospitable for moss growth.
- Clean Gutters Regularly: Blocked gutters can lead to water pooling on your roof, creating the perfect environment for moss. Keeping them clear can make a big difference.
- Install Zinc or Copper Strips: These metal strips release ions when it rains, which help to kill moss spores before they can take root.
DIY Moss Removal Considerations
Embarking on a DIY moss removal project can be both cost-effective and satisfying. However, it’s essential to take certain considerations into account to ensure the process is safe and effective. Here, we’ll cover the key factors you need to keep in mind before starting your moss removal endeavor.
How to Safely Access Your Roof
Safety first! Here are some tips for safely accessing your roof:
- Use a Stable Ladder: Ensure your ladder is on stable ground and someone is holding it steady.
- Wear Non-Slip Shoes: Roofing surfaces can be slippery. Non-slip shoes provide better traction.
- Harnesses and Safety Lines: For steep roofs, using a harness and safety line can provide extra security.
Essential Tools and Materials for Roof Moss Removal
Before you start, gather the following tools and materials:
- Safety gear (gloves, goggles, non-slip shoes)
- Stiff-bristled brush
- Garden hose with a spray nozzle
- Moss removal cleaner (commercial or homemade)
- Ladder
- Zinc or copper strips (optional for future prevention)
Homemade Moss Removal Solutions
If you prefer natural solutions, here are some effective homemade moss removers:
- Baking Soda: Mix baking soda with water to create a paste. Apply it directly to mossy areas and scrub gently with a stiff brush.
- Vinegar: Use a spray bottle to apply white vinegar to the moss. Allow it to sit for 15-20 minutes before scrubbing off.
- Dish Soap: Mix dish soap with water in a spray bottle. Spray it on the moss, wait for about an hour, and then scrub away.
Commercial Moss Removal Products
For those who prefer ready-made solutions, several commercial products are available:
- Moss Out!: This product is specifically designed for roof moss removal and is easy to apply.
- Wet & Forget: Another popular option that requires minimal scrubbing.
- Lilly Miller Moss Out Roofs!: This product is eco-friendly and effective.
🏠 7-Step Guide to Removing Moss from Your Roof

Follow these six straightforward steps to effectively remove moss from your roof and restore its original condition. By adhering to this guide, you will ensure the longevity and durability of your roofing materials while maintaining the aesthetic appeal of your home. Let’s dive in and get started!
1. Prepare Your Work Area
Begin by clearing the area around your home to ensure you have enough space to work comfortably and safely. Remove any obstacles or debris that could cause tripping hazards. Set up your ladder in a stable position, ensuring it is on level ground and securely locked in place. Wearing safety gear such as gloves, non-slip shoes, and eye protection is crucial to protect yourself from potential falls or injuries.
2. Wet the Mossy Areas
Using a garden hose equipped with a spray nozzle, thoroughly wet down the mossy areas of your roof. This softens the moss, making it easier to remove. Be sure to cover all affected areas uniformly to ensure that the moss absorbs enough water to loosen properly.
3. Apply Moss Removal Solution
Choose either a commercial moss removal product or a homemade solution, such as a mixture of water and baking soda. Apply it generously to the affected areas using a garden sprayer or a similar applicator. Follow the manufacturer’s instructions or recipe guidelines for the correct concentration and application method. Allow the solution to sit for the recommended amount of time, usually 15-20 minutes, to effectively break down the moss.
4. Scrub the Moss Away
Using a stiff-bristled brush, gently scrub the moss away from the roof’s surface. Start at the top and work your way down to avoid damaging the roofing material. Apply firm pressure but ensure you are not too aggressive, as this can harm shingles or tiles. Take your time to ensure all moss is removed, paying extra attention to stubborn patches.
5. Rinse Thoroughly
Once you have scrubbed away the moss, rinse the roof thoroughly with your garden hose to remove any remaining moss and cleaning solution. Use a gentle spray to avoid dislodging roofing materials. Make sure to rinse from top to bottom to ensure all residues are washed away, leaving your roof clean and clear.
6. Install Preventive Measures
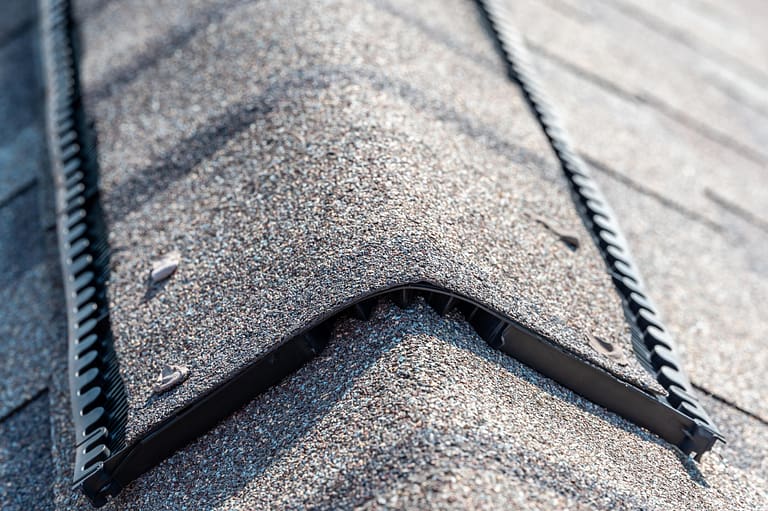
To prevent future moss growth, consider installing zinc or copper strips along the ridge of your roof. These metals naturally inhibit moss growth when rainwater washes over them, creating a protective barrier. Secure the strips according to the manufacturer’s instructions, ensuring they are evenly spaced and firmly attached. Regularly inspect these preventive measures to ensure they remain effective over time.
7. Maintaining a Moss-Free Roof
Once you’ve removed the moss, regular maintenance is key:
- Inspect Regularly: Make it a habit to inspect your roof at least twice a year.
- Clean Gutters: Regularly clean your gutters to prevent water accumulation.
- Trim Trees and Bushes: Ensure that trees and bushes are trimmed back to allow for adequate sunlight and airflow.
👨🔧 The Importance of Professional Assistance

While DIY methods can be effective, sometimes it’s best to call in the professionals:
- Complex Roof Designs: If your roof has a complex design, professional services can ensure thorough moss removal.
- Severe Moss Infestation: For extensive moss growth, professional-grade products and expertise may be necessary.
- Safety Concerns: If you’re uncomfortable working at heights, it’s safer to hire a professional.
🙌 Trust Shingle and Metal Roofs for Your Roofing Needs
At Shingle and Metal Roofs, we’re committed to providing top-notch service to keep your roof in excellent condition. Our experienced team uses advanced techniques and eco-friendly products to ensure effective moss removal without harming your roofing material or the environment. Plus, we offer maintenance plans to keep your roof moss-free year-round.
Don’t wait until moss wreaks havoc on your roof. Contact us today to schedule a consultation and learn how we can help protect your home. Our team at Shingle and Metal Roofs is here to provide the expert care and quality service you deserve.
By following these steps and tips, you’ll be well-equipped to tackle roof moss removal and keep your home looking beautiful and secure. Remember, regular maintenance is the key to preventing moss from taking hold again. For professional assistance, trust the experts at Shingle and Metal Roofs to get the job done right.