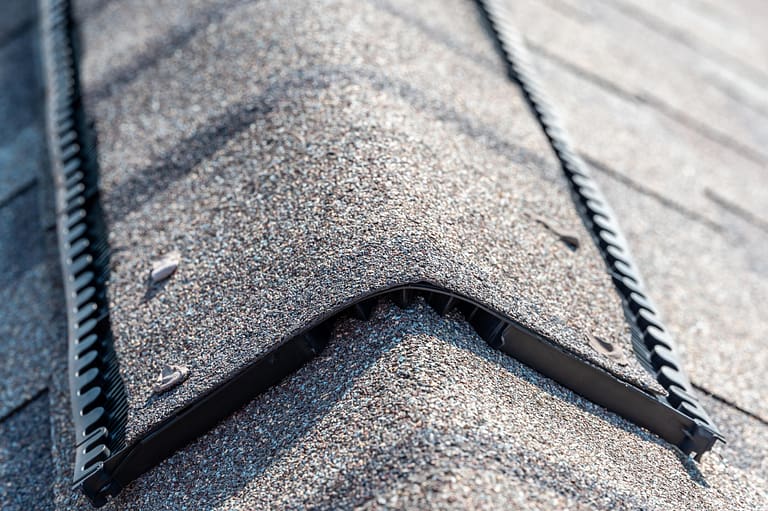
When it comes to keeping your home cozy and energy-efficient, having the right roof insulation is crucial. Whether you’re facing sweltering summers or chilly winters, the right insulation can make a world of difference in maintaining a comfortable indoor environment and saving on energy bills. In this guide, we’ll explore six common types of roof insulation and walk you through how to install them effectively.
Inside this blog:
- The importance of roof insulation for your home
- 6 common types of insulation for your roof
- Bonus tips for installing roof insulation
Keep reading to become an expert on all-things-roof-insulation!
Why Roof Insulation Matters ❄️

Before we dive into the different types of roof insulation, let’s understand why roof insulation is so important:
- Energy Efficiency: Proper insulation helps regulate the temperature inside your home, reducing the need for excessive heating or cooling, which can lead to significant energy savings.
- Comfort: Insulation keeps your home comfortable year-round by maintaining a consistent indoor temperature.
- Moisture Control: Insulation can help prevent moisture buildup in your attic, which can lead to mold and other issues.
- Soundproofing: Some insulation materials also provide soundproofing benefits, making your home quieter and more peaceful.
Now that we know why roof insulation is essential, let’s explore the 6 common types and how to install them:
1. Fiberglass Insulation 🪶
Fiberglass insulation is one of the most popular choices for roof insulation. It comes in batts or rolls and is known for its affordability and effectiveness. Here’s how to install it:
Installation Steps:
- Measure the spacing between the roof joists and cut the fiberglass batts to fit snugly.
- Wear protective gear, including gloves, a mask, and safety goggles, to avoid irritation from fiberglass particles.
- Place the batts between the roof joists, ensuring a snug fit. Be careful not to compress the insulation, as this reduces its effectiveness.
- Use a utility knife to trim any excess insulation.
2. Cellulose Insulation 🌿
Cellulose insulation is an eco-friendly option made from recycled paper treated with fire-resistant chemicals. It’s a good choice for both new construction and retrofitting existing roofs. Here’s how to install it:
Installation Steps:
- Rent a blowing machine from your local hardware store or home improvement center.
- Fill the machine with cellulose insulation.
- Access your attic or roof space and use the machine’s hose to blow the insulation evenly across the attic floor or between the joists.
- Ensure even distribution for consistent insulation coverage.
3. Spray Foam Insulation 🚀
Spray foam insulation is a high-performance option that provides excellent sealing and insulation properties. It’s available in two types: open-cell and closed-cell. Here’s how to install it:
Installation Steps:
- Hire a professional insulation contractor with experience in spray foam insulation.
- The contractor will spray the foam onto the underside of the roof sheathing or directly onto the attic floor, creating a seamless and airtight barrier.
- Allow the foam to cure, expanding and hardening to create an effective insulation layer.
4. Reflective or Radiant Barrier Insulation 🛡️
Reflective or radiant barrier insulation is designed to reflect heat away from your home, making it an excellent choice for hot climates. It’s typically installed in attics and can help reduce cooling costs. Here’s how to install it:
Installation Steps:
- Staple or nail the reflective foil or barrier directly to the underside of the roof rafters or trusses, with the reflective side facing the attic space.
- Overlap the seams and edges to create a continuous barrier.
- Ensure there’s an airspace between the insulation and the roof sheathing to allow for heat reflection.
5. Polyurethane Foam Board Insulation 🧼

Polyurethane foam board insulation offers excellent thermal resistance and is often used in roof applications. It comes in rigid panels and provides a high level of insulation. Here’s how to install it:
Installation Steps:
- Measure the spaces between the roof joists or trusses and cut the foam board panels to fit.
- Attach the panels to the underside of the roof sheathing using adhesive or mechanical fasteners.
- Seal any gaps or joints with foam board adhesive to ensure an airtight seal.
6. Cotton Batts Insulation 🌾
Cotton batts insulation, made from recycled denim, is an eco-friendly option that offers good thermal and acoustic insulation. It’s easy to handle and install. Here’s how to install it:
Installation Steps:
- Measure and cut the cotton batts to fit the spaces between the roof joists or trusses.
- Place the batts in position, ensuring they fit snugly and fill the entire cavity.
- Use a utility knife to trim any excess insulation.
Additional Tips for Roof Insulation Installation 🔨
- Always wear appropriate safety gear, including gloves, a mask, and safety goggles, when handling insulation materials.
- Ensure proper ventilation in your attic or roof space to prevent moisture buildup.
- Seal any gaps, cracks, or openings in your roof and attic before installing insulation to prevent air leakage.
- Consider hiring a professional insulation contractor for complex or extensive insulation projects.
Choose The Right Roof Insulation for Your Home 🏡
Choosing the right roof insulation and installing it correctly is essential for maintaining a comfortable and energy-efficient home. Each type of insulation has its advantages and is suitable for different climates and requirements.
By following the installation steps outlined for each type, you can improve your home’s insulation and enjoy the benefits of lower energy bills and increased comfort. Whether you opt for fiberglass, cellulose, spray foam, reflective barrier, polyurethane foam board, or cotton batts insulation, a well-insulated roof will keep you cozy year-round.
Contact our pro team of roofers at Shingle and Metal Roofs today and we’ll address all your concerns and questions about roof insulation. Let’s kick off your next roofing project with a free estimate!


